
Last updated September 20, 2026
Free on-site gate assessment - hinges, posts, and your LiftMaster or Nice gate operator checked before anything is quoted
The assessment is free and the quote is the invoice.
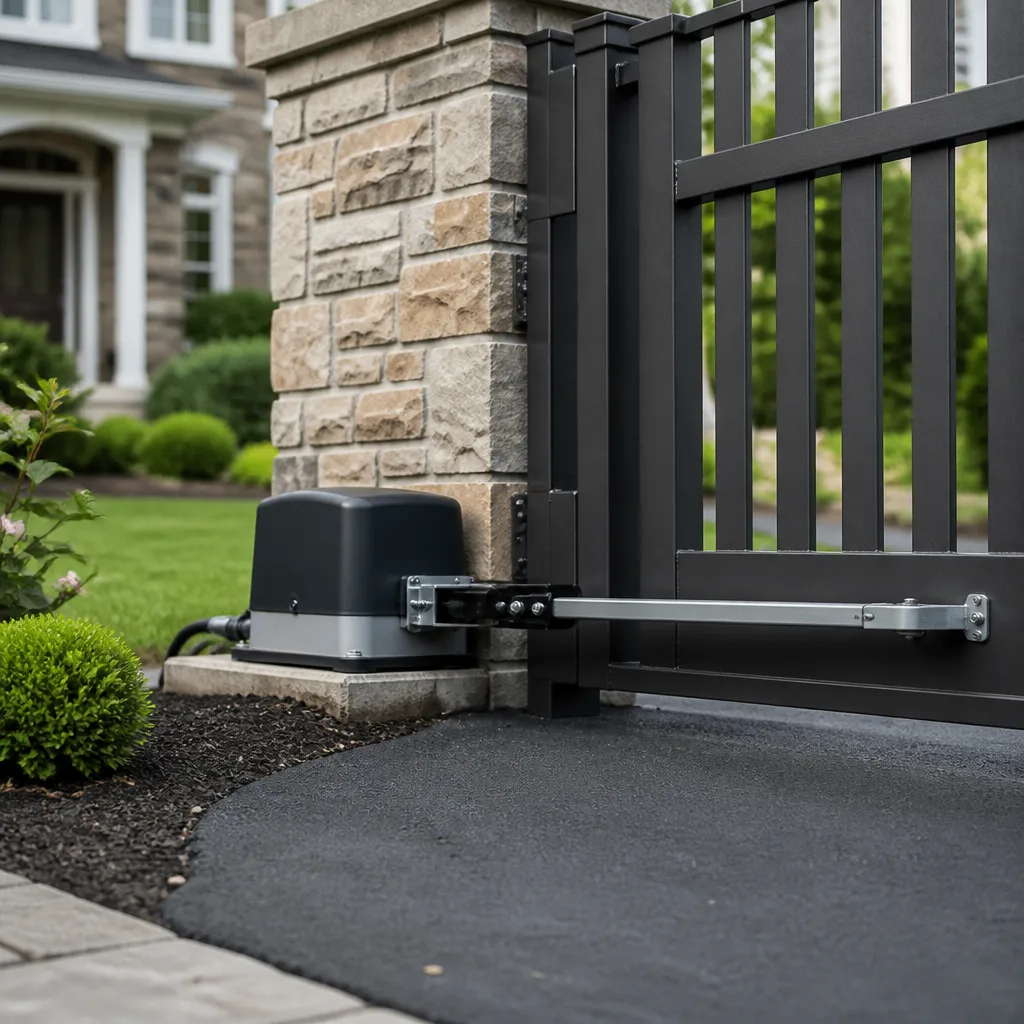
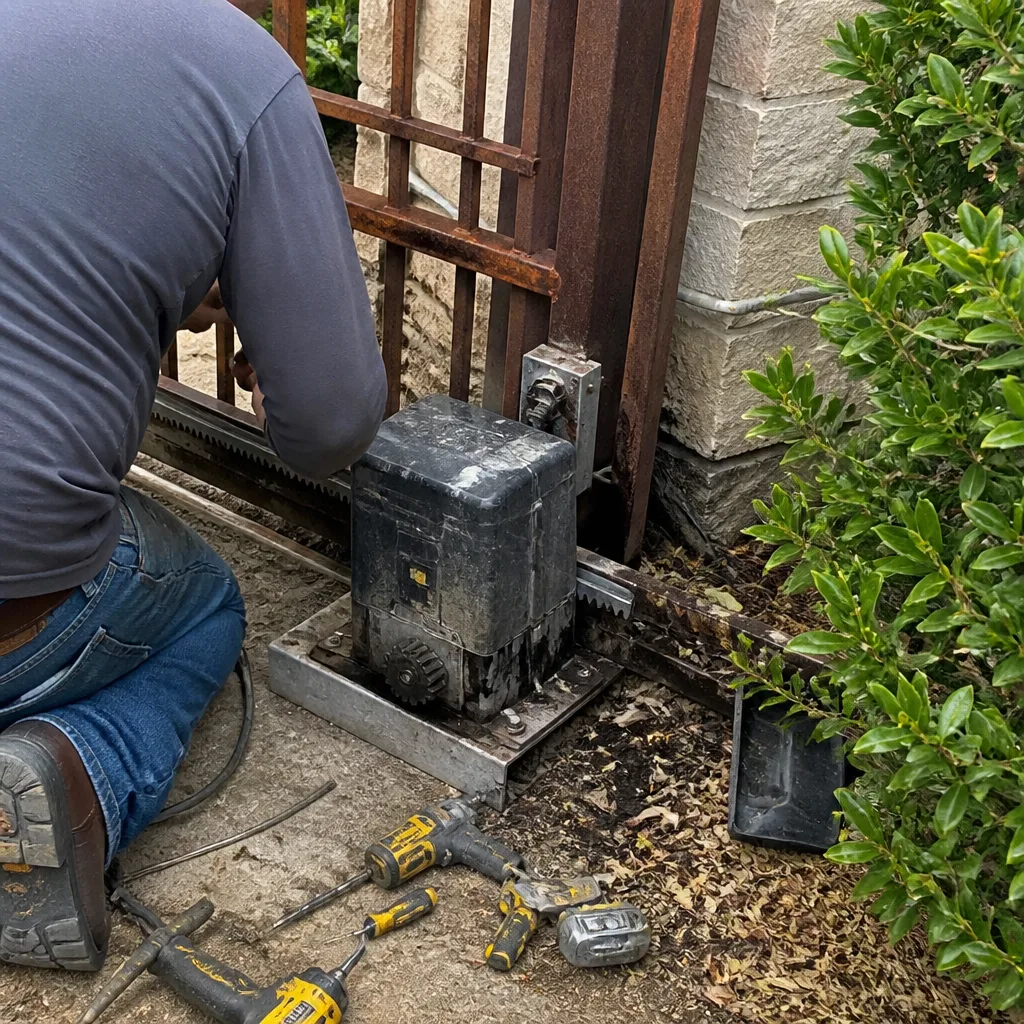 Before
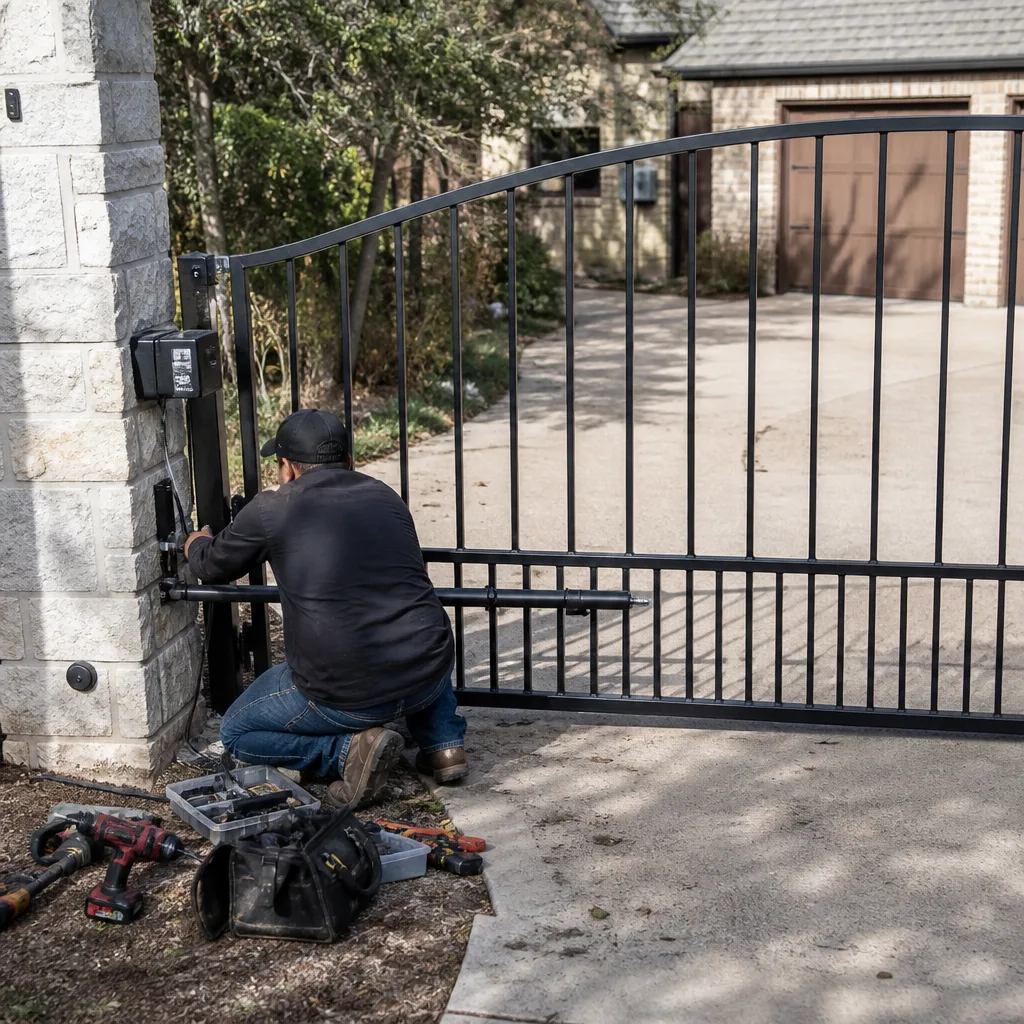 After
After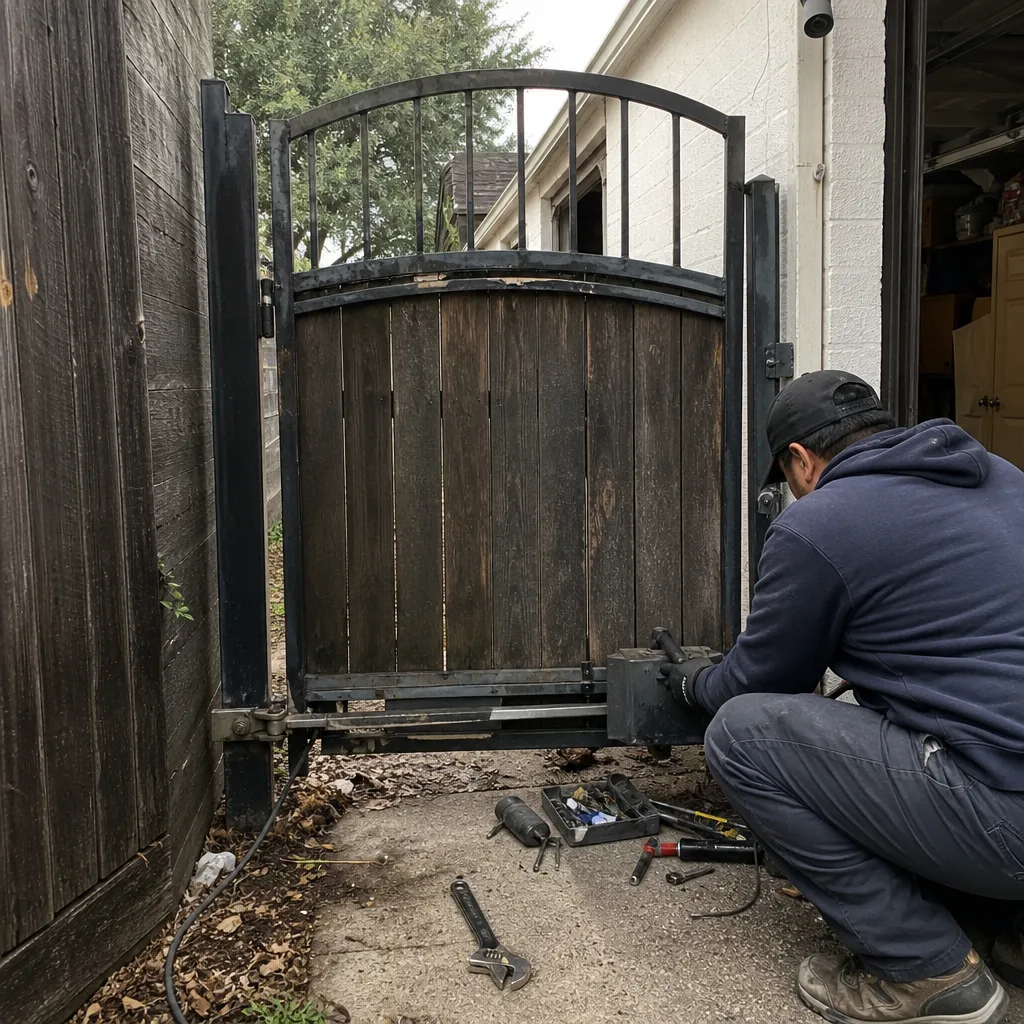 Before
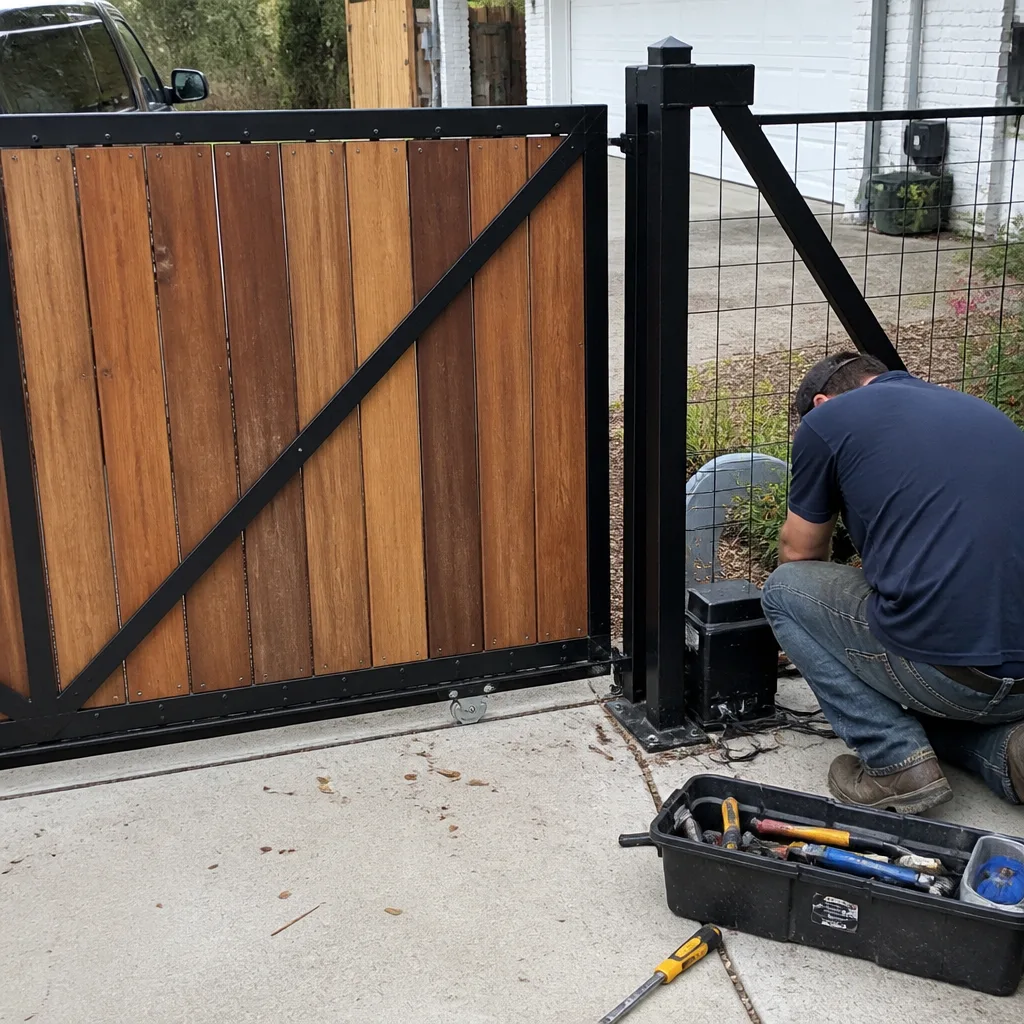 After
After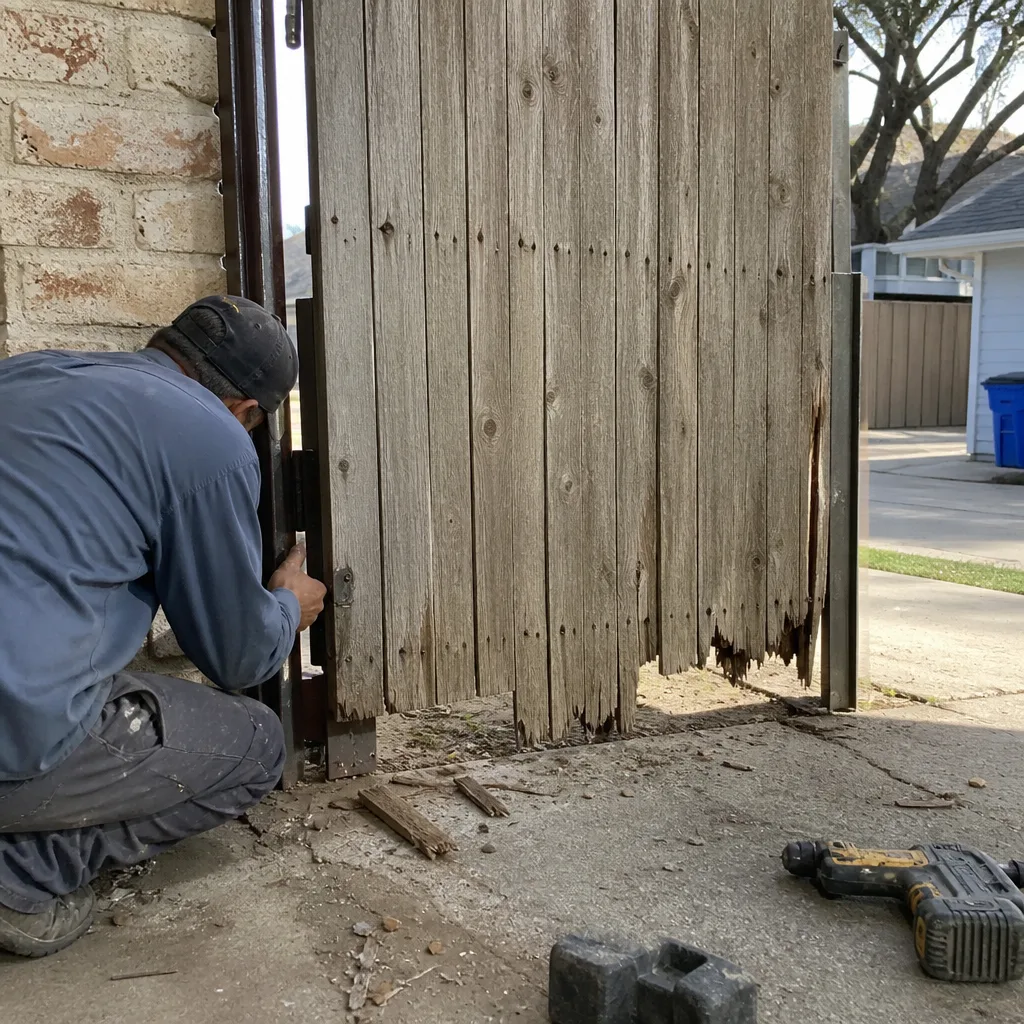 Before
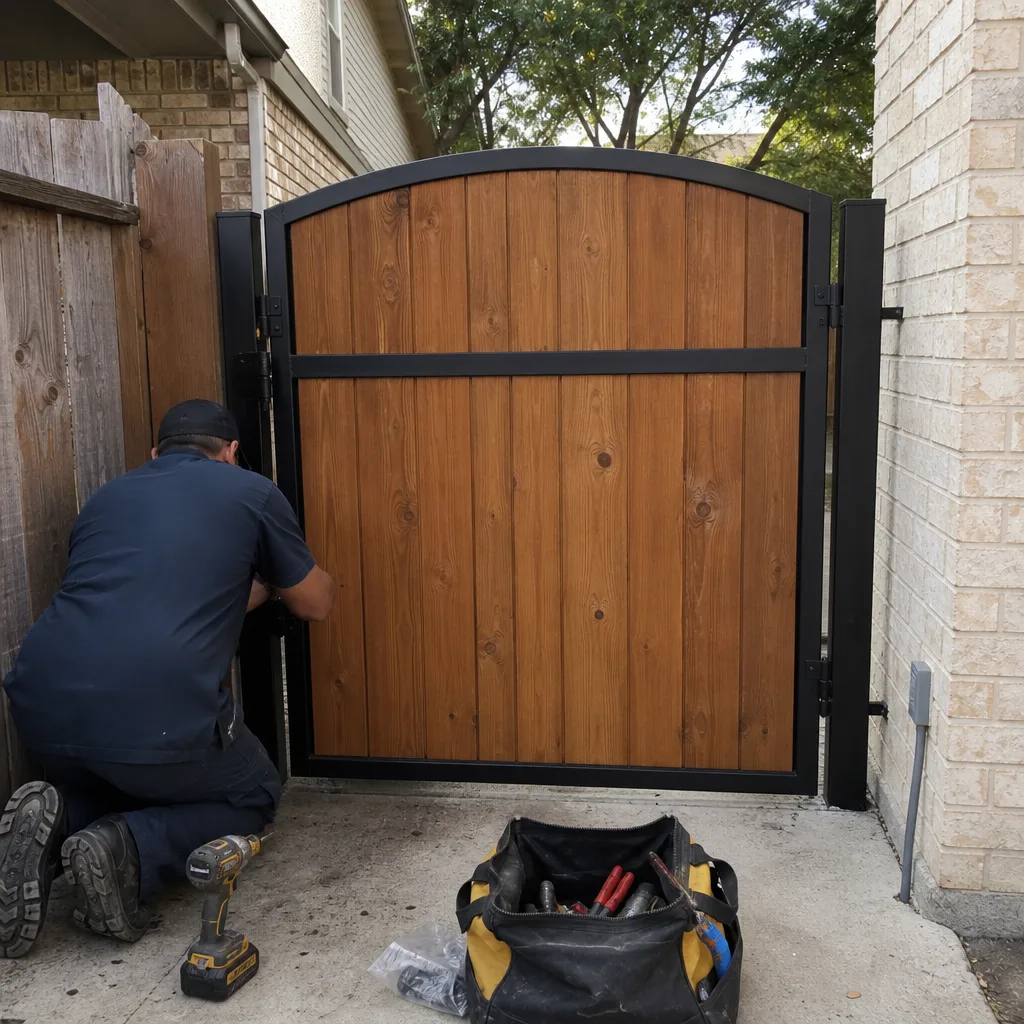 After
AfterGate Repair Maintenance Checklist for Fort Worth Homeowners
Most Fort Worth homeowners lubricate a gate that is already failing. The chain gets a shot of spray grease, the wheels get a drop of oil, and the gate rolls a little easier for a week. What they’ve actually done is mask the symptom while the underlying problem, a sagging leaf or a hinge post pulling out of clay soil, keeps getting worse until the gate binds completely or tears the opener off its mount. This guide is a sequenced checklist built around measurements and observations, not a feel-based once-over. It walks through what to check, in what order, what the readings mean, and which tasks you should hand to someone with a written scope rather than attempt on a Saturday morning. If you own a gate in Fort Worth, the climate and soil here punish specific components harder than anywhere else in Texas, and the order of inspection matters because each check builds on the one before it.
Quick Answer
A proper gate maintenance checklist for Fort Worth homeowners starts with measuring the gate’s sag against the post, then checks gap consistency along the travel path, then inspects chain or arm slack, then runs a full open/close cycle while listening for specific sounds and watching the LED status codes. Finish by checking the photo-eye alignment, clearing the operator housing of fire ants, and logging every measurement in a dated record. Most homeowners can complete this in about 40 minutes, and the log is what turns a routine check into something a future technician can actually use.
Table of Contents
- Measure Gate Sag Before You Lubricate Anything
- Check Gap Consistency Along the Travel Path
- Inspect Chain and Arm Slack With a Tape Measure
- Run a Full Open/Close Cycle and Log What You Hear
- North Texas Specific Checks: Clay Heave, Wind, and Fire Ants
- Inspect and Align the Photo-Eye After Every High Wind Event
- Build a Maintenance Log a Technician Can Actually Use
- Which Tasks Void Opener Warranties and Need a Written Scope
BeforeAfterMeasure Gate Sag Before You Lubricate Anything
The single most useful measurement on any swing gate is sag: how far the latch-side bottom corner has dropped relative to the hinge post. In Fort Worth, sag arrives faster than most people expect. The clay soil under a typical Tarrant County driveway expands dramatically in wet winters and contracts in dry summers. A hinge post set in that soil can shift a quarter inch in a single season, and that quarter inch at the post translates to an inch or more of sag at the latch end because of the lever effect across a 12-foot gate leaf.
Here’s how to get the number without any special tools:
- Stand at the latch post and sight down the top rail of the gate toward the hinge post.
- If the top rail dips visibly, measure the gap at the latch side between the gate and the post at the top and at the bottom.
- Subtract the top gap from the bottom gap. If the difference is more than half an inch, the gate has measurable sag.
- Record the date and the measurement. Repeat monthly during the wet season.
A sag reading of under half an inch is usually manageable with hinge adjustment. A sag reading over one inch almost always means the hinge post itself has moved, and that is a structural symptom, not a hardware symptom. Greasing the hinges at that point does nothing except make the binding quieter for a few days. In our experience across Fort Worth, gates in areas with heavier clay content, such as east Fort Worth neighborhoods near the Trinity River floodplain, sag faster than gates on the limestone shelf to the west. The soil tells you what to expect before the gate does.
Check Gap Consistency Along the Travel Path

Once you know whether the gate is sagging, walk the full travel path and measure the gap between the gate’s bottom rail and the ground at three points: the hinge end, the midpoint, and the latch end. On a properly hung gate, these three measurements should be within an inch of each other. A larger variance means the leaf is twisting, not just sagging, and twisting is what snaps weld joints and breaks casters.
For sliding gates, the equivalent check is the gap between the gate and the guide rollers. Run the gate halfway and measure the gap at the top guide roller and the bottom track roller. A sliding gate that has dropped even a quarter inch will start wearing the track unevenly, and that wear accelerates fast once the wheel bearings start binding. We repair gates throughout Fort Worth where a sliding gate that was quiet in January is grinding by June because a small wheel-bearing failure went unnoticed for five months.
Record these three numbers every time you inspect. The trend matters more than any single reading. A gate that loses an eighth of an inch of clearance every month for three months is telling you the hinge post is still moving, even if the latch still clears today. That is the kind of information a written Vance Gate Repair Fort Worth home maintenance record captures, and it is what lets us set the hinges back to spec rather than trying to guess what moved.
Inspect Chain and Arm Slack With a Tape Measure
Chain-driven slide gates and arm-driven swing gate openers both have specific slack tolerances, and both should be checked with a tape measure rather than by feel. Most operator manuals specify a maximum deflection for the chain or a maximum play at the arm’s clevis pin. If you cannot find the spec for your operator, measure the chain deflection at the midpoint between the drive sprocket and the idler sprocket with the gate stopped. More than one inch of total deflection up and down generally means the chain needs tensioning on a LiftMaster or DoorKing slide operator.
Arm slack on a swing opener is easier to check than most people assume. Set the gate to the closed position, then try to wiggle the arm at the point where it attaches to the gate bracket. Any side-to-side movement larger than an eighth of an inch at that clevis pin indicates a worn bushing or an elongated hole. Left alone, that play is what lets a swing gate slam in a north wind, because the arm cannot hold the leaf still when the wind loads it from the hinge side.
Do not adjust chain tension without checking the sprocket alignment at the same time. A chain that is tensioned perfectly on a misaligned sprocket will chew through itself in a season. Elite and Mighty Mule operators are forgiving of minor misalignment, but a DoorKing slide operator with a steel chain is not. The chain and the sprockets need to agree with each other before you tighten anything.
Run a Full Open/Close Cycle and Log What You Hear
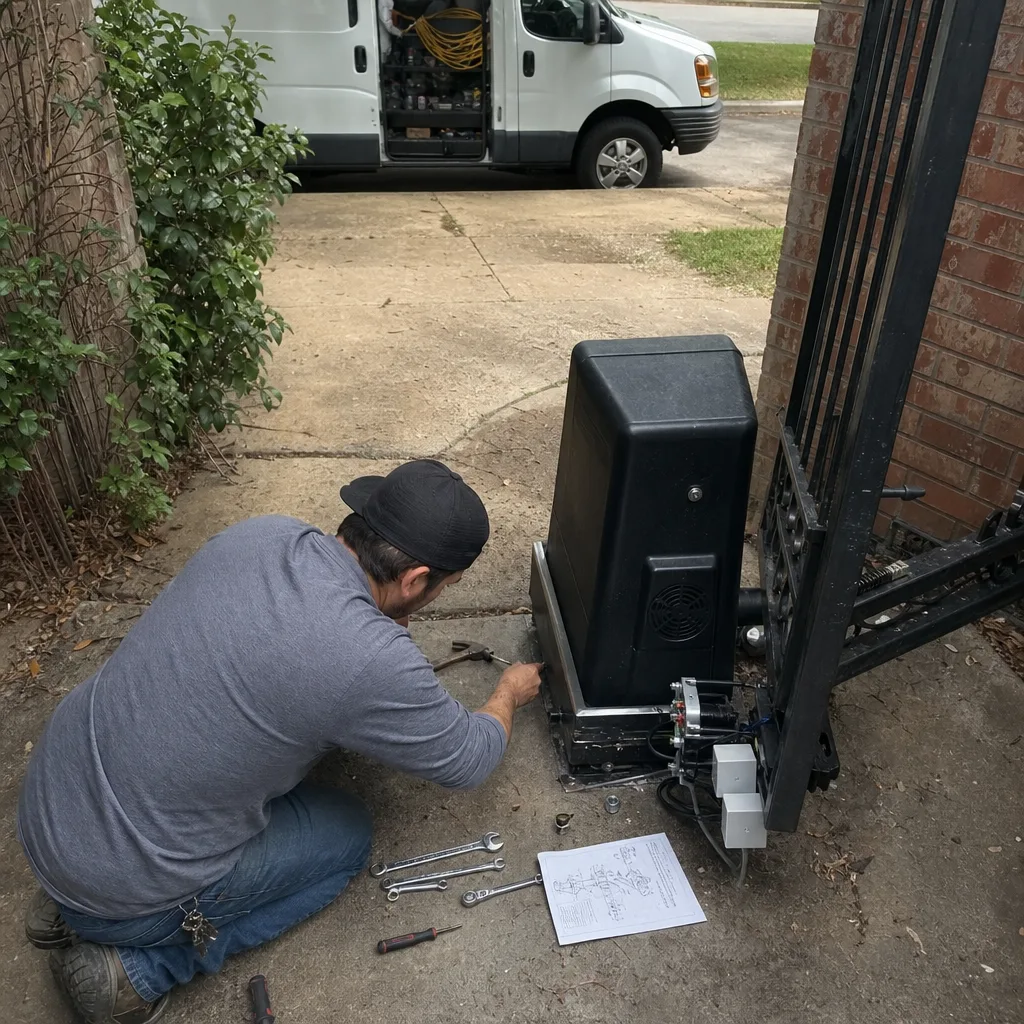
Every maintenance check should include one full open and close cycle while you stand next to the operator and listen. Not from across the yard, next to the motor. Specific sounds indicate specific problems, and logging the sound as you heard it, on the date, with the approximate point in the cycle, gives a technician a diagnostic head start that most homeowners accidentally erase by describing the noise three weeks later from memory.
What to listen for, in the order you will typically hear it:
- A groan at startup usually indicates a capacitor that is losing its ability to hold a starting charge, common on older LiftMaster operators after five or six North Texas summers.
- A rhythmic click during travel on a slide gate almost always points to a damaged chain link or a sprocket tooth, and it will click once per revolution of the sprocket.
- A screech at the midpoint of travel on a swing gate typically means a dry hinge bearing, but it can also mean the arm is binding against the gate bracket because the gate has sagged since the opener was installed.
- A thump at the end of travel, followed by a bounce, means the limit switch is set too far past the physical stop. The operator should decelerate before the mechanical stop, not hit it at speed.
While you are listening, watch the LED status codes on the operator board. Most automation brands, DoorKing, Elite, LiftMaster, and Mighty Mule included, flash a specific pattern when a fault is detected. A single repeating flash on a DoorKing board means something entirely different from a double flash on a LiftMaster. Photograph the pattern and write it in the log. A technician who shows up with that pattern already documented does not have to recreate the fault to diagnose it. If you are not sure what the pattern means, call and describe it. A live person answers at our gate motor and opener service line 24 hours a day, including weekends, and a pattern read over the phone is often enough to tell you whether it is safe to keep operating the gate.
North Texas Specific Checks: Clay Heave, Wind, and Fire Ants
Three environmental factors in Fort Worth cause more gate failures than all other causes combined, and none of them appear on a generic national maintenance checklist. The first is clay heave. The second is wind. The third is fire ants.
Clay heave affects the hinge post on swing gates and the track on slide gates. When a wet winter saturates the expansive clay soils common across Fort Worth, the soil swells and can lift a post upward by half an inch or more. When the summer heat bakes that same soil dry, it contracts and the post drops. A post that has heaved will show a small gap between the concrete footing and the surrounding soil after a dry spell, or a raised ring of soil around the post after a wet spell. Check for both. A post that has moved is not something you fix with a wrench. It needs to be reset, and that is structural work, not a maintenance adjustment. If you see movement, photograph it and call for an assessment before the hinge geometry gets worse.
Wind affects every gate in Tarrant County, but it is hardest on swing gates with large flat surfaces. A typical 12-foot steel swing gate presents about 60 to 70 square feet of wind load, and a 40 mph gust, which Fort Worth sees several times each year, can shove that leaf hard enough to bend the opener arm if the gate is not in the fully open or fully closed position. After any storm with gusts over 35 mph, run the gate through a full cycle and check the arm for fresh bowing or new play at the clevis. Wind also knocks the photo-eye out of alignment, which we cover below.
Fire ants are the third item, and they are specific to this region in a way that surprises people who moved here from elsewhere. A gate operator housing is warm, dry, and protected. It is exactly the environment fire ants seek out in spring and fall. When they move into the control board, they short the low-voltage circuits, and the gate stops responding intermittently. If your gate has started doing something strange, stops halfway, works only sometimes, open the operator cover and look for ant activity around the board. Treat the exterior perimeter of the housing with a perimeter bait, never spray the board directly. If the board is already crusted with ant debris, call a technician before powering the operator back up. We see this pattern every spring in Fort Worth, and it is one of the easiest problems to prevent and one of the most expensive to ignore.
Inspect and Align the Photo-Eye After Every High Wind Event
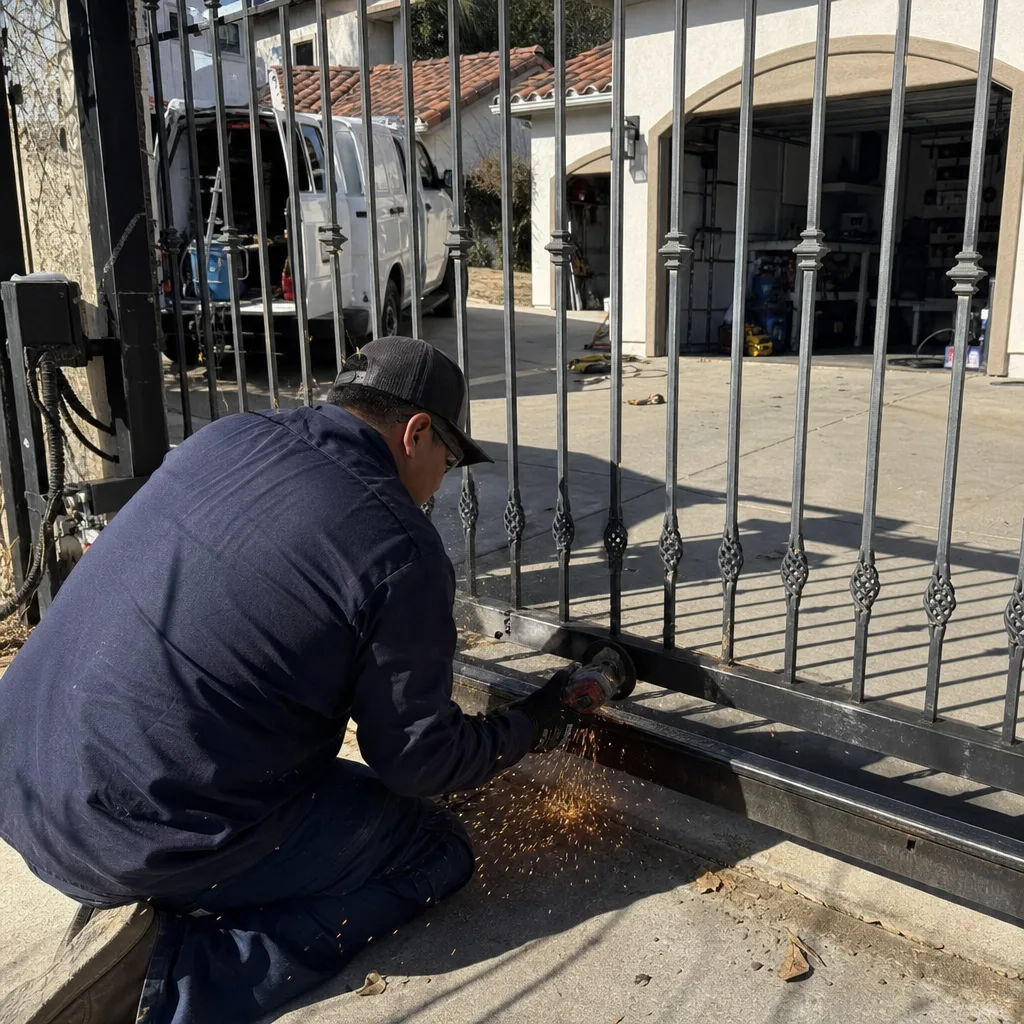
The photo-eye, also called the photo cell or safety beam, is the infrared sensor pair mounted near the ground on either side of the gate’s opening. One side transmits, the other side receives. If anything interrupts the beam while the gate is closing, the operator reverses. It is a required safety device, and it is also the most frequently knocked out of alignment component on any automated gate in North Texas, because a single strong gust can twist a mounting bracket by a few degrees.
The check takes under a minute:
- With the gate stopped, look at the transmitter and receiver. Most have a small LED that glows steady when the beam is aligned.
- If the LED on the receiver is blinking or off, the beam is broken or misaligned.
- Kneel down and sight across the top of both sensors. The lenses should point at each other like the barrels of two opposing rifles.
- Gently rotate the sensor housing until the receiver LED goes steady.
- Tighten the mounting screws and run the gate through a closing cycle to confirm the operator sees the beam as clear.
Do not wipe the lenses with anything abrasive. A dry microfiber cloth is enough. Scratched lenses diffuse the beam and cause intermittent reversal problems that are hard to diagnose because they happen only at certain angles of sunlight. If alignment does not restore the LED, the photo-eye itself may be dead, and that is a replacement part, not an adjustment. A photo-eye is technically a simple swap, but the wiring inside the operator housing carries line voltage on some models, so we recommend calling a professional rather than opening the board cover yourself. The cost is modest, and the safety margin matters. Your gate should never close on anything, and a misaligned or dead photo-eye means it might.
Build a Maintenance Log a Technician Can Actually Use
The maintenance log is the cheapest tool in your gate ownership kit, and most people skip it because they think of it as a calendar reminder rather than a diagnostic record. A useful log is not “checked the gate in March.” A useful log is a sequence of dated observations that shows change over time. When a technician arrives with a gate that has been sagging for eight months, the log tells them whether the hinge post is still moving or has settled, and that single fact changes the repair plan entirely.
Here is the format we recommend, with three columns:
- Date: the month and day, every time.
- Observed: what you saw or measured. Sag reading, chain deflection, LED pattern, gap at the latch, ant presence, the specific sound and where in the cycle it occurred.
- Adjusted: what you changed, even if it was just wiping the photo-eye lenses.
Keep it in a spiral notebook in the garage or a notes app on your phone. Both work. The point is that the record exists and travels with the gate. If you sell the house, pass the log to the next owner. If a technician works on the gate, show them the log. A homeowner who hands us eight months of measurements saves more diagnostic time than any verbal description of a noise ever could. When we perform a repair, our own documentation follows the same principle under The Haven Standard: what we found, what we set, and what we installed, in writing and in photographs, left with the homeowner and filed in the job record. We build the same kind of log for you because it is the only honest way to work on a mechanism that wears over time. The gate installation records we keep in Fort Worth include original measurements for exactly this reason: so a sag reading from year three can be compared against the as-built number instead of a guess.
Which Tasks Void Opener Warranties and Need a Written Scope
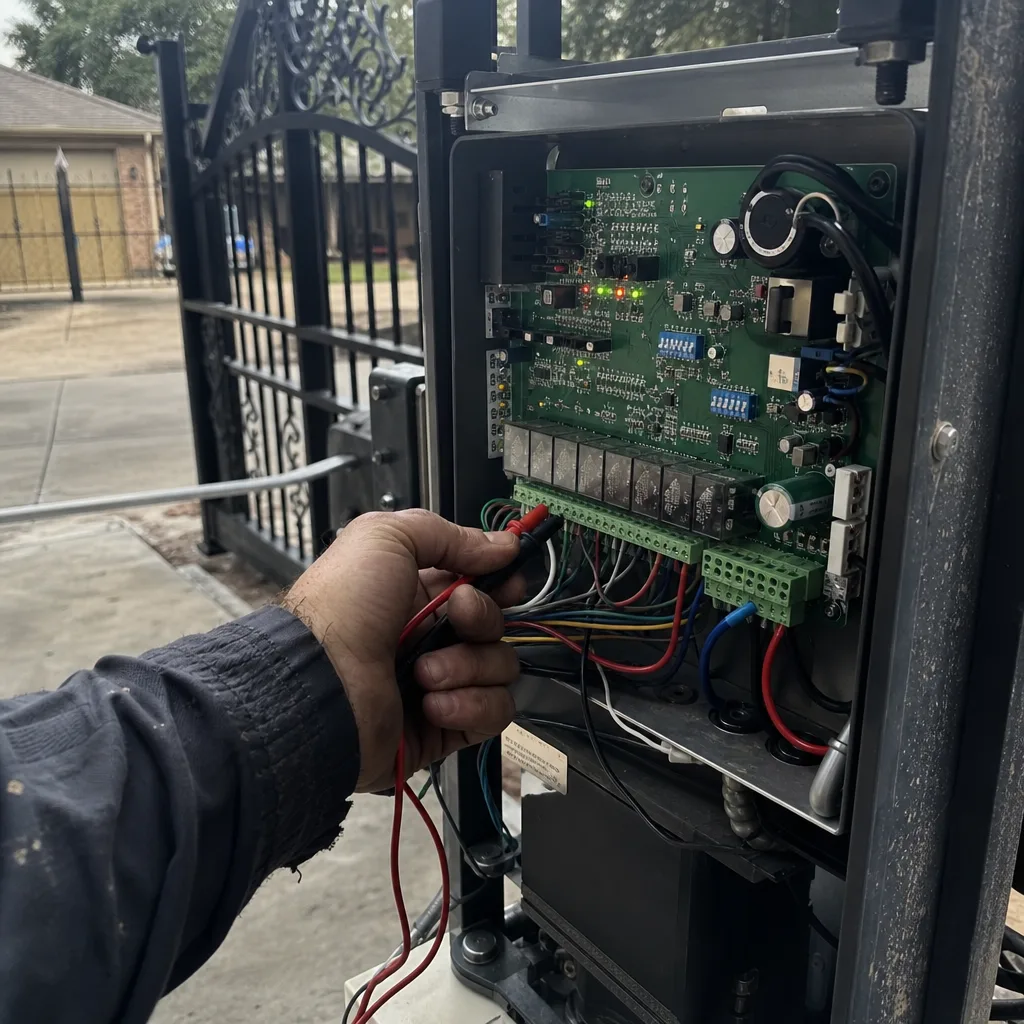
Some maintenance tasks are genuinely yours to do. Lubricating hinges with the right grease, cleaning photo-eye lenses, logging measurements, clearing debris from the track, and checking for ant activity are all within a homeowner’s normal reach. Other tasks are not, and the distinction is not about skill. It is about warranty language and the liability that transfers the moment you open the operator housing.
Most major manufacturers, LiftMaster and DoorKing among them, void the operator warranty if the board cover is removed and the wiring is altered by someone other than a qualified technician. That includes replacing a photo-eye, adding a keypad, or rewiring a battery backup. The warranty is not voided by a homeowner checking the LED codes or photographing the board through the cover opening. It is voided by tools touching wires. If the task requires a screwdriver to remove the cover, it is usually a hand-off task.
Other hand-off items:
- Resetting a hinge post that has heaved or dropped. This is structural concrete work, and doing it wrong leaves the gate worse than before.
- Adjusting the limit switches on any operator. A limit set too far past the mechanical stop will eventually break the arm, the chain, or the gearbox.
- Replacing a chain on a slide gate operator. If the new chain is not tensioned to the operator spec on a properly aligned sprocket, it will fail prematurely and take the sprocket with it.
- Any repair to the gate itself that involves the welds. A cracked weld on a gate leaf needs a welder, not a homeowner with a grinder.
For any of these, the right move is a written scope and a written price before anyone picks up a tool. That is how we operate on every job, and it is the standard you should demand from any company that touches your gate. You should know what is being done, what it costs, and what was left behind. Under Clause 4 of The Haven Standard, every visit includes a documented photo record at no additional charge, so you have proof of what was adjusted, what was set, and what was installed.
Common Mistakes to Avoid
- Lubricating a sagging gate. Grease reduces friction, but it does nothing for a hinge post that has moved in Fort Worth clay. The gate feels smoother for a week while the structural problem continues to develop underneath it.
- Skipping the log. “The gate sounds weird” is not a diagnostic input. “The gate groans at startup, and the sag has gone from 0.5 to 0.75 inches since March” is. Write it down every time.
- Adjusting the chain without checking sprocket alignment. A perfectly tensioned chain on a misaligned sprocket wears faster than a loose one on a true sprocket.
- Ignoring fire ants until the gate quits. Ants inside the operator housing short low-voltage circuits and cause intermittent failures. Check for them before the gate stops responding, not after.
- Closing the gate to test the photo-eye with a person in the path. Use an inanimate object, like a trash can, placed in the beam path. Never test a safety reverse with a body part.
- Treating a wind-damaged arm as a cosmetic problem. A bent opener arm on a Fort Worth swing gate is a load-bearing component. A bow today is a snapped clevis and a free-swinging leaf tomorrow.
- Calling for a repair after the gate has already failed. The measurements in this checklist exist to catch problems before they become breakdowns. A gate that binds at 2 a.m. costs more to fix than one caught in a monthly walkaround.
When to Call a Professional
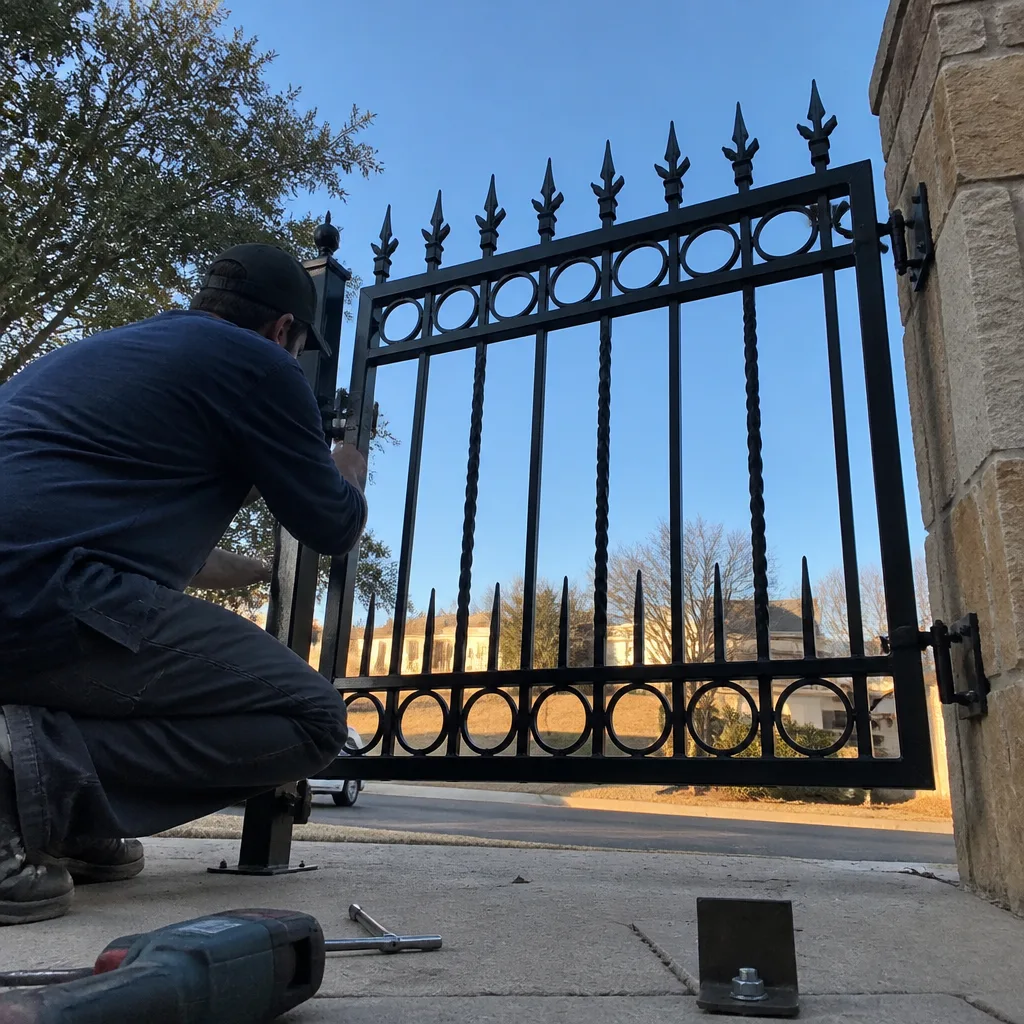
Call a professional when a measurement changes suddenly, when a post moves, when a weld cracks, when the operator starts throwing fault codes you cannot interpret, or when any task requires opening the operator housing. A hinge post that dropped half an inch over a dry summer is a structural fix, not a hinge adjustment. A chain that clicks once per sprocket revolution needs a sprocket inspection, not more tension. A photo-eye that will not align after a storm may need replacement, and the wiring inside the housing is not the place to learn by doing. Vance Gate Repair Fort Worth offers free estimates in Fort Worth – call (817) 476-9945. A live person answers, day or night, and you will get a written price before any work begins.
Frequently Asked Questions
Monthly during the wet season from October through May, when clay heave is most active, and every other month during the dry summer. After any storm with gusts over 35 mph, run a full cycle check and inspect the photo-eye alignment regardless of when you last checked. For more guidance, see our Gate Repair in Fort Worth page.
In our experience, hinge post movement caused by expansive clay soil is the most common structural failure, and fire-ant intrusion into the operator housing is the most common electrical failure. Both are preventable with the monthly checks in this guide, and both are far cheaper to fix when caught early.
You can inspect the limit switch settings and log the LED status, but adjusting the switches usually means removing the operator cover and using a screwdriver on the board, which voids most manufacturer warranties and can create a serious safety hazard if the gate is set to travel past its mechanical stop. This is a hand-off task with a written scope.
Most of the checks in this guide cost nothing but your time. For a professional inspection, the price depends on what is found, but any reputable company should give you a written price before starting work. At Vance Gate Repair Fort Worth, we quote the flat price up front under Clause 1 of The Haven Standard, and the photograph log is included under Clause 4 every time.
Yes. We service nine major automation brands, including LiftMaster, DoorKing, Elite, and Mighty Mule, so the opener already on your property can stay in service when it is repairable. We do not steer toward replacement when a repair will do the job. See Gate Motor & Opener in Fort Worth for more detail.
Run a full open/close cycle, note exactly where in the cycle the noise occurs, photograph any LED status pattern on the operator board, and write both in your maintenance log. Then call us at (817) 476-9945 with the description. A precise description of a noise and a fault code pattern can often be diagnosed over the phone, and a live person answers 24/7.
The Bottom Line
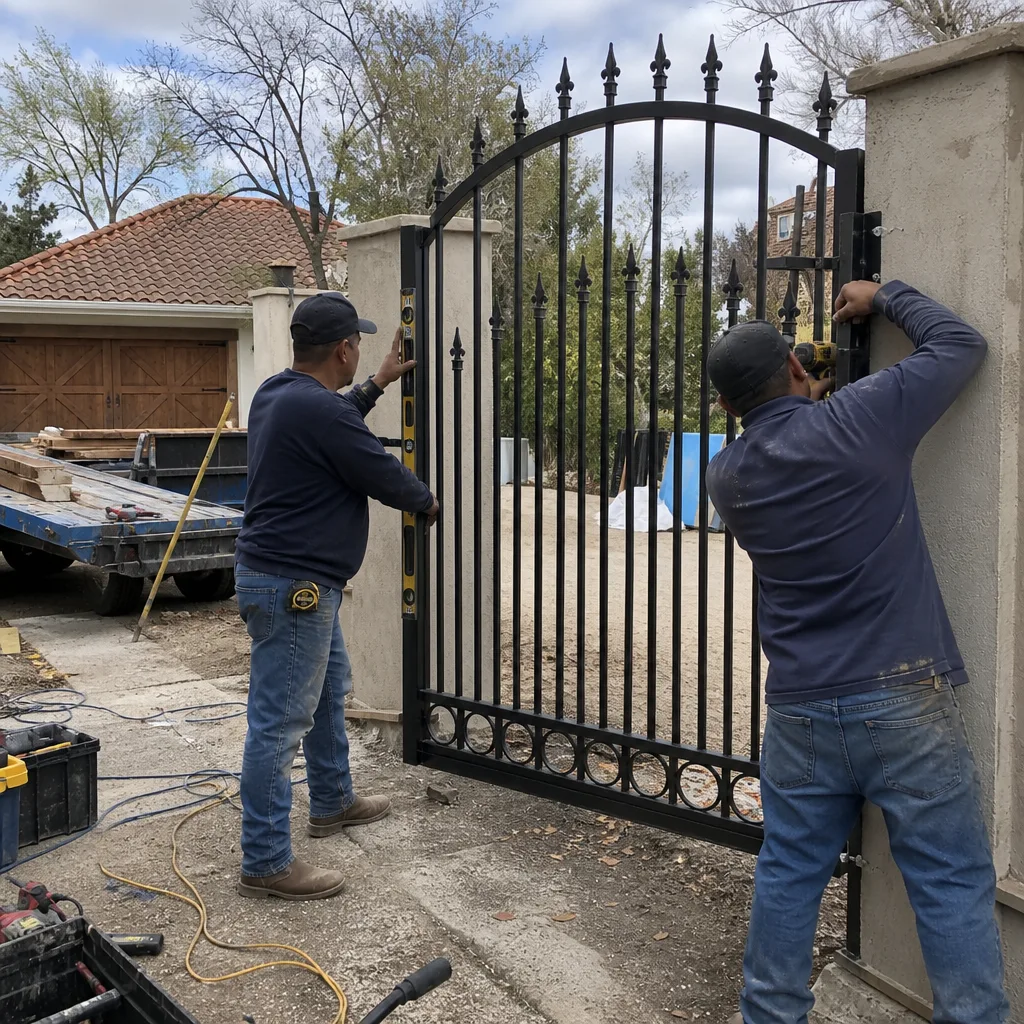
A Fort Worth gate fails slowly, in measurable increments, and the order of inspection matters more than the number of items on the list. Measure sag before lubricating. Check the gap before adjusting the hinges. Run the cycle before touching the chain. Log everything you observe, because the trend tells you more than any single reading. Check for the three local killers, clay heave, wind damage, and fire ants, every month. Know which tasks are yours and which belong to a professional with a written scope. If a measurement changes suddenly or a post moves, call before the gate binds. Vance Gate Repair Fort Worth home service is built on documentation: written prices, photographed adjustments, and a record left behind every time. Call (817) 476-9945 for a free estimate, and get the price in writing before anyone picks up a tool.
Written by Adrian Vance, Owner at Vance Gate Repair Fort Worth, serving Fort Worth since 2014.