
Last updated September 20, 2026
Free on-site gate assessment - hinges, posts, and your LiftMaster or Nice gate operator checked before anything is quoted
The assessment is free and the quote is the invoice.



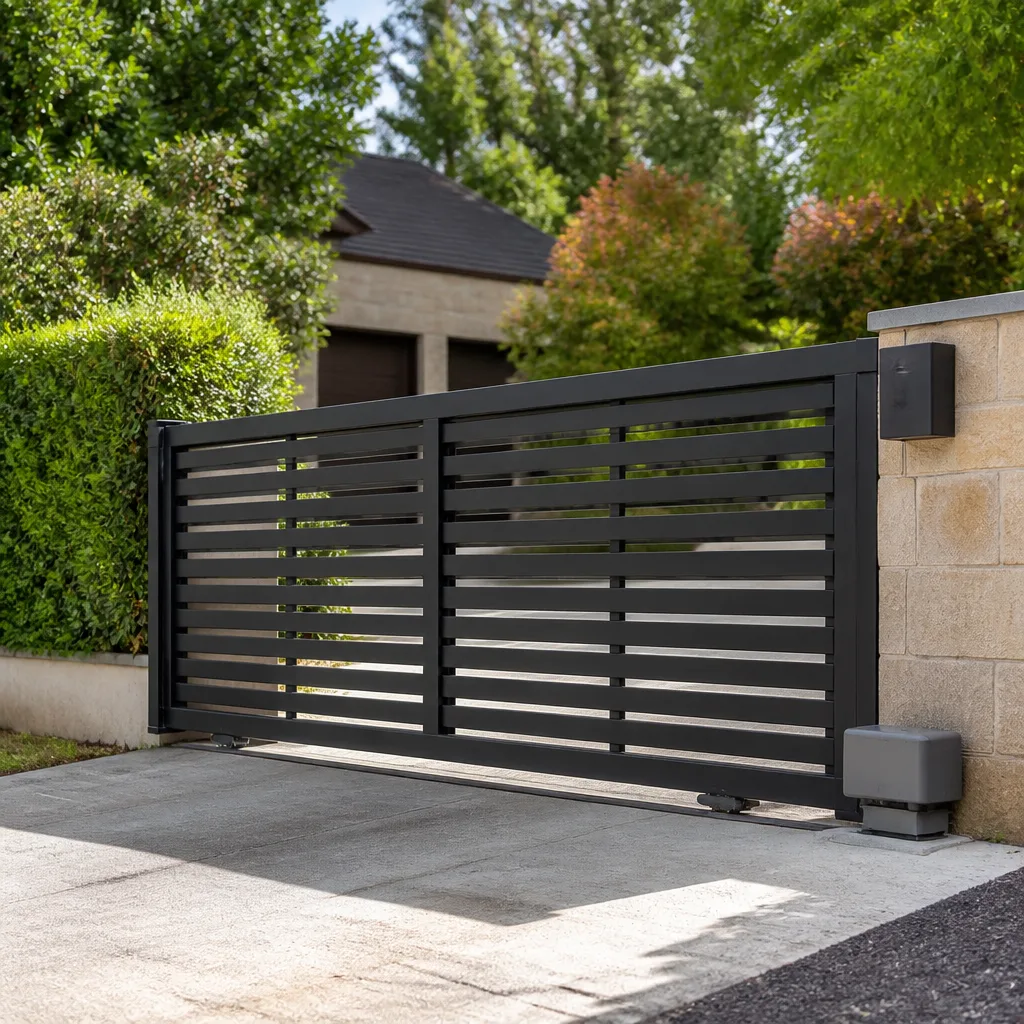
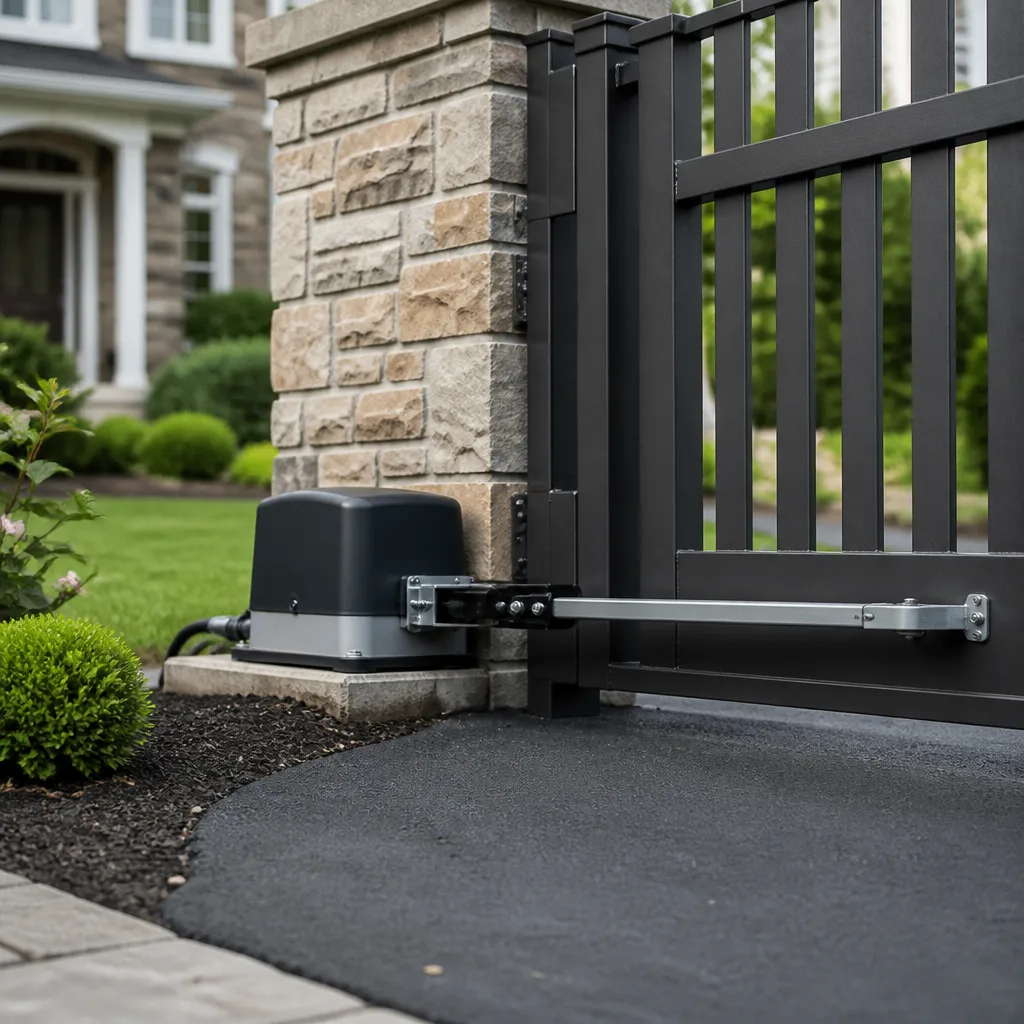
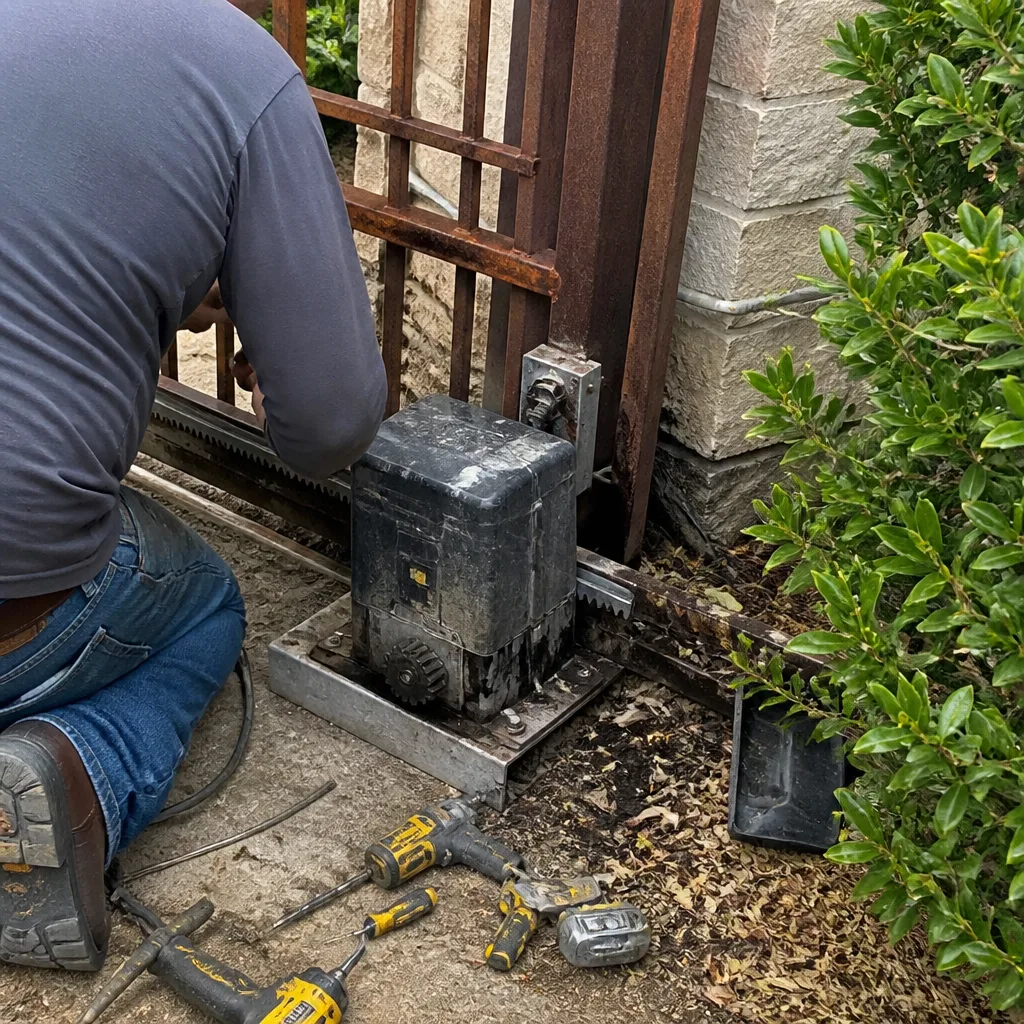 Before
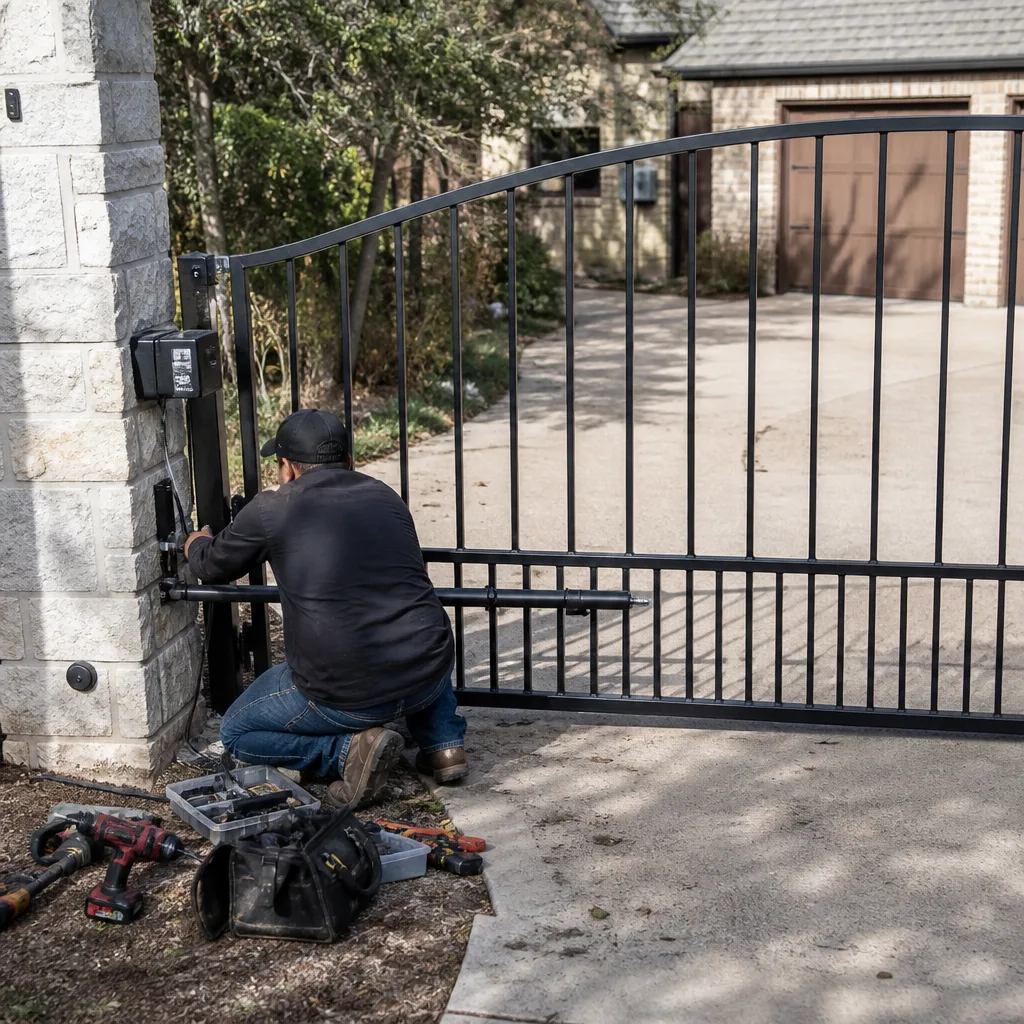 After
After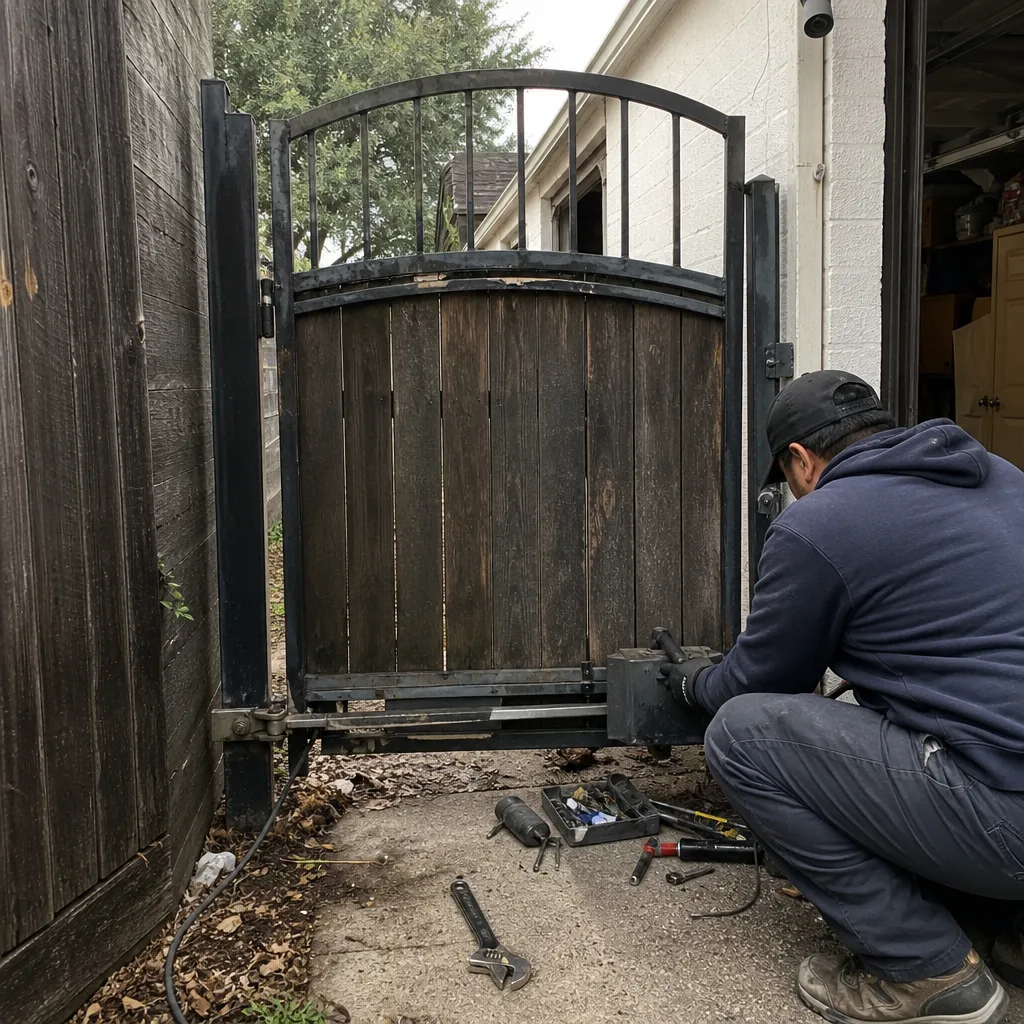 Before
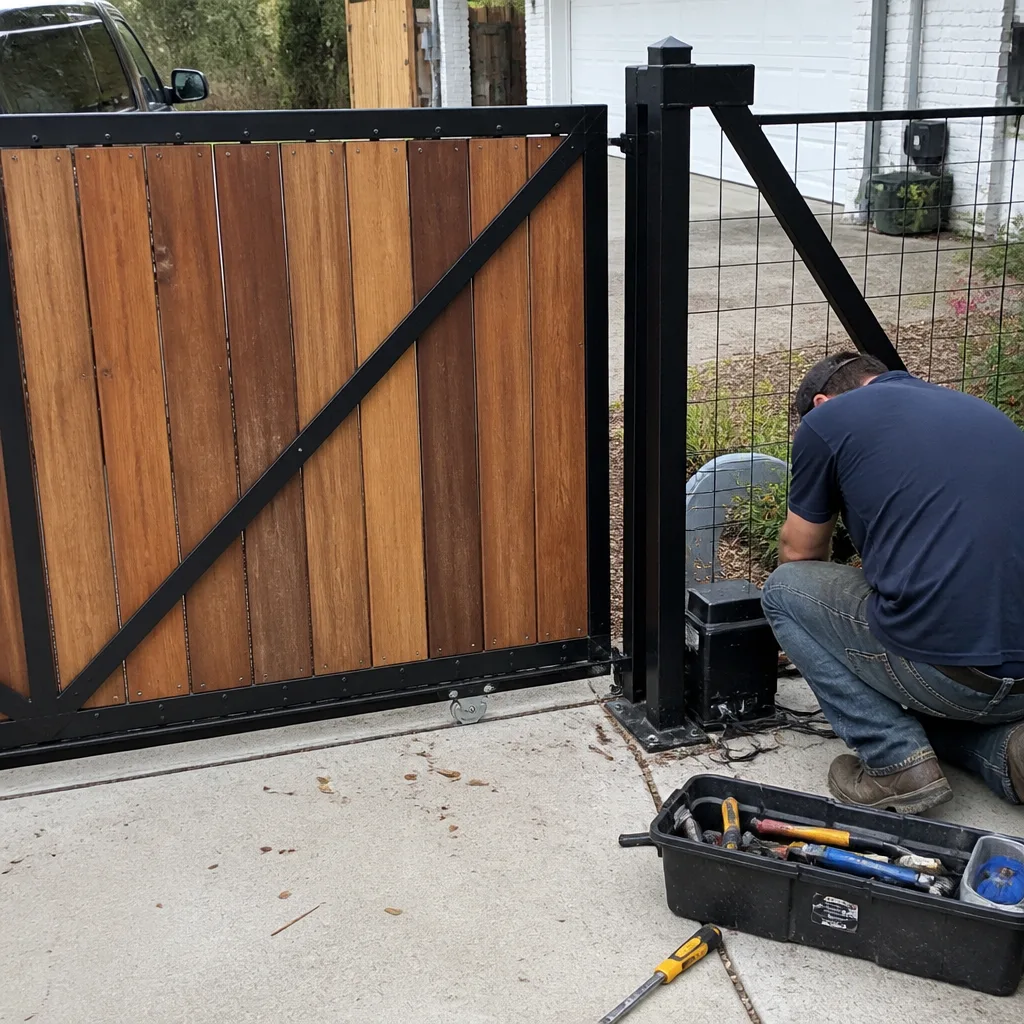 After
After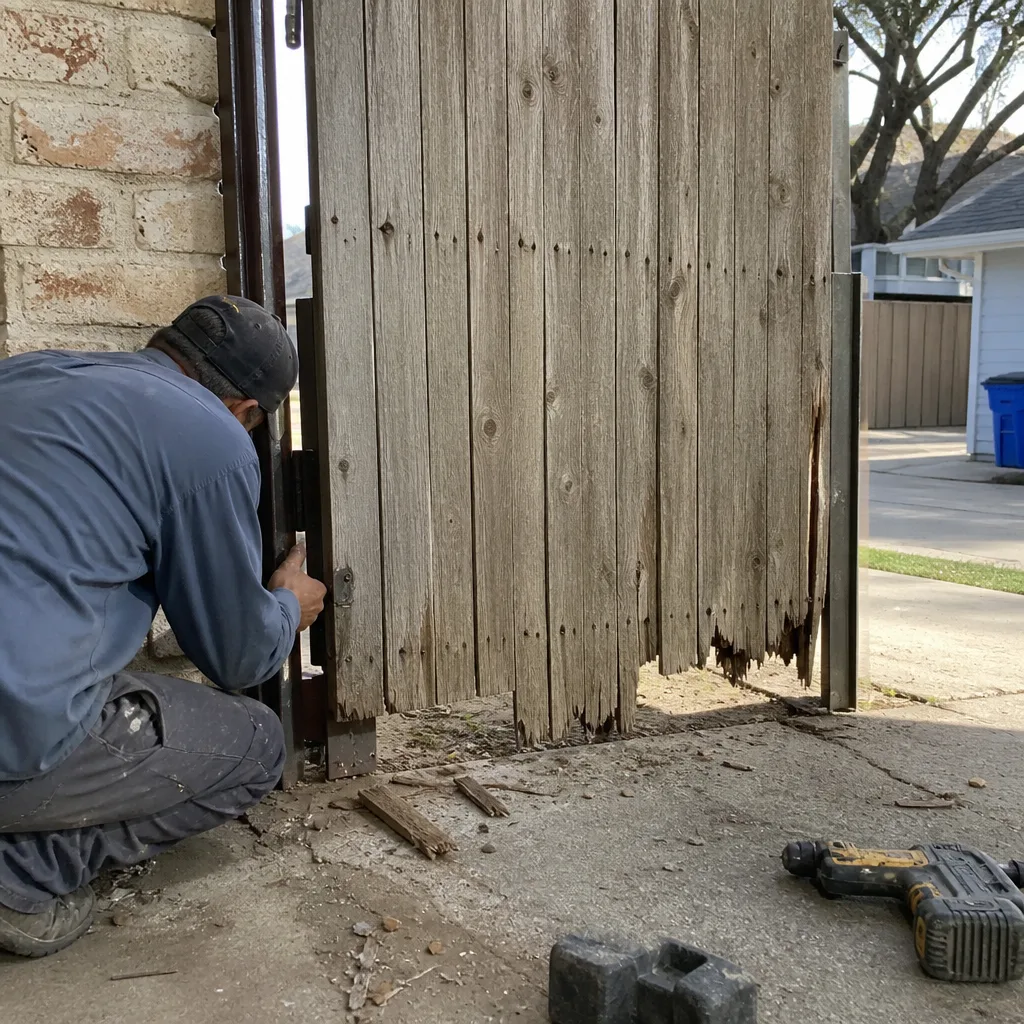 Before
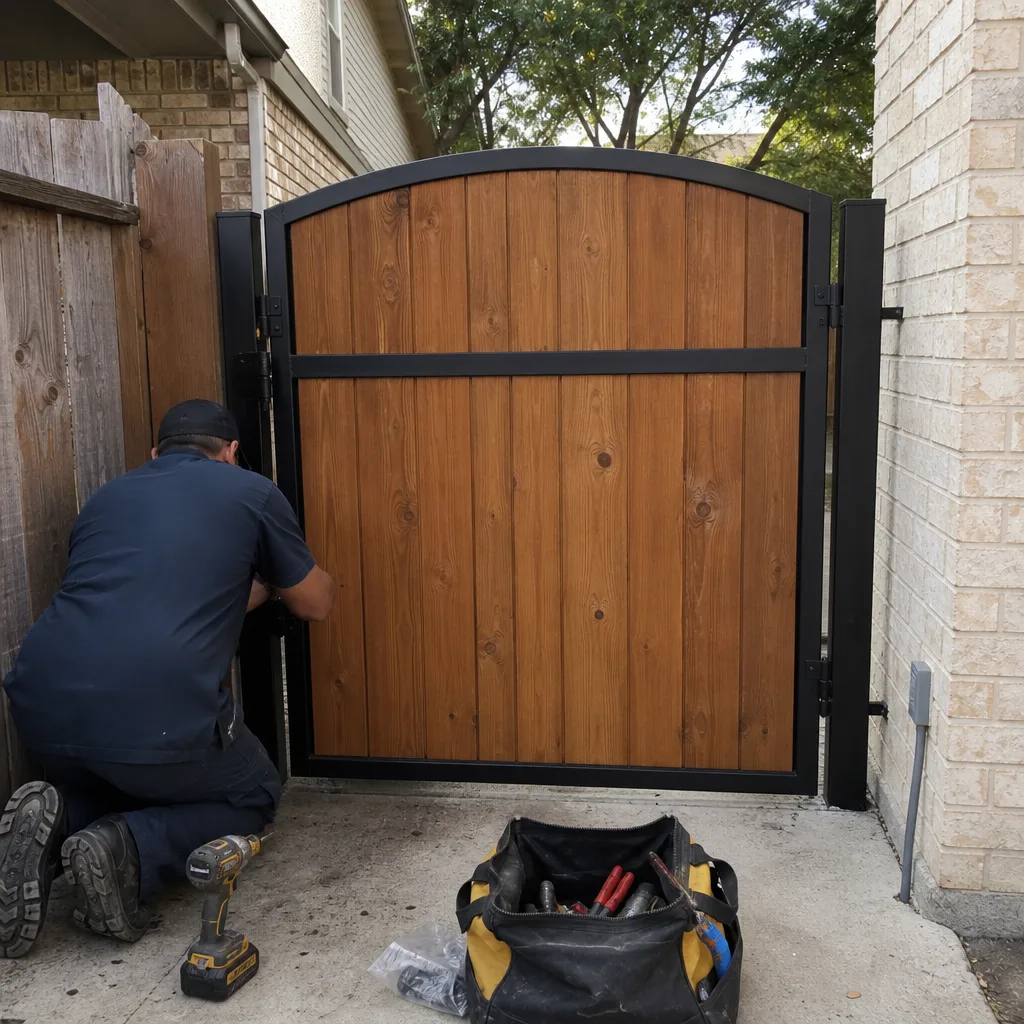 After
AfterDIY vs Professional Gate Repair: The Fort Worth Homeowner’s Decision Guide
The most expensive DIY gate repair isn’t the one that fails immediately. It’s the one that half-works for eight months, masks the underlying fault, and sends the next technician in without any documentation of what was changed. This guide-along with our Gate Repair Maintenance Checklist for Fort Worth Homeowners-draws the actual boundary between what a Fort Worth homeowner can safely own and what should be handed off with a written scope. You’ll learn which repairs involve risk you can’t see, which ones are genuinely approachable, and how to keep a repair record that saves you money on the next service call.
Quick Answer
DIY gate repair in Fort Worth is reasonable for tasks that involve no line voltage, no limit-switch calibration, and no structural hardware: remote reprogramming, photo-eye cleaning, and light lubrication. Professional repair is the right call for anything touching 120V/240V wiring, operator boards, limit switches, or hinge posts. If you do attempt a DIY fix, write down exactly what you changed; undocumented work is the single biggest driver of inflated diagnostic costs on a later service call.
Table of Contents
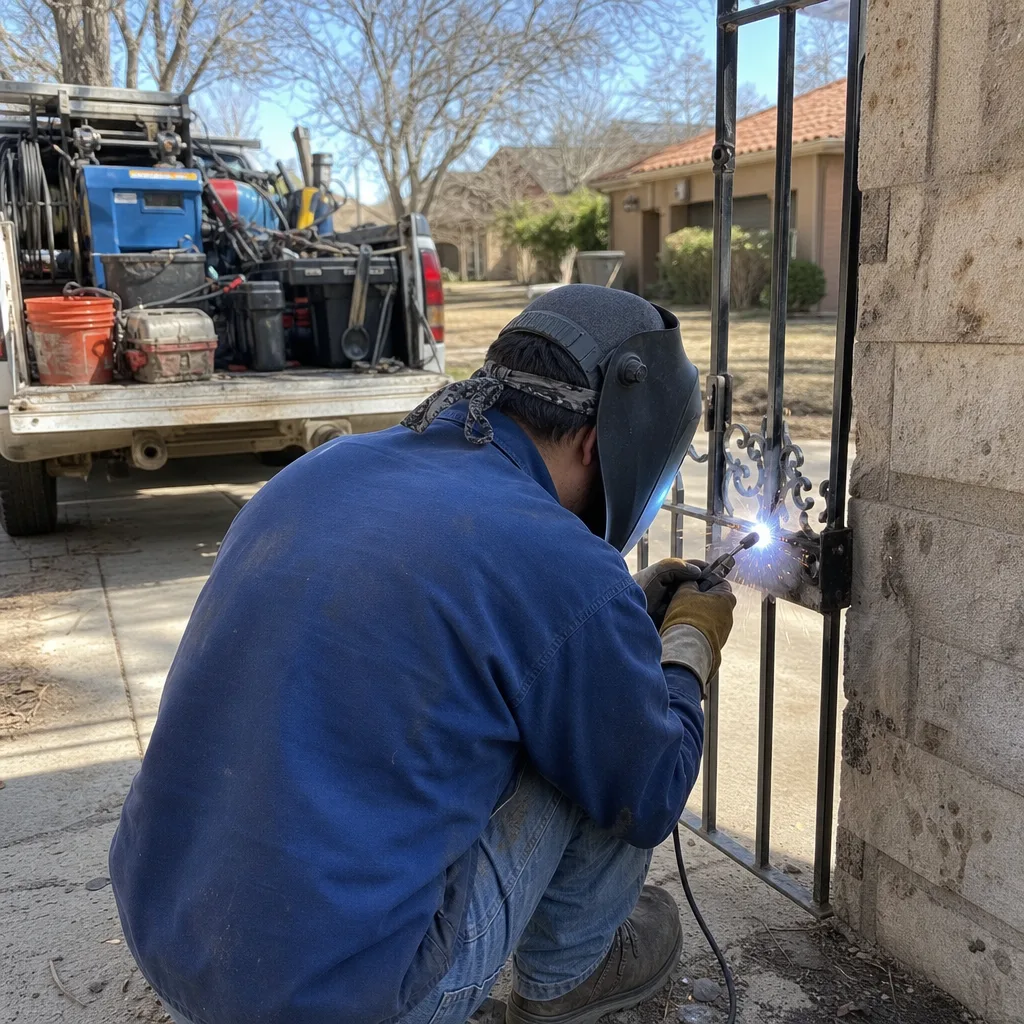
- The Line That Actually Matters
- What a Homeowner Can Safely Own
- What Belongs in Professional Hands
- The Gray Zone: When It Depends
- The Cost of Undocumented Work
- How to Hand Off a Partially-Attempted Repair
- What to Write Down if You Do the Work Yourself
- Common Mistakes to Avoid
- When to Call a Professional
- Frequently Asked Questions
- The Bottom Line
BeforeAfterThe Line That Actually Matters
The DIY versus professional question is rarely about skill level. A homeowner who can follow a wiring diagram can swap a gate opener board. A homeowner who has never held a multimeter can still clean a photo-eye lens. The real dividing line is whether the repair affects a safety-critical component, involves line voltage, or leaves behind a change that no one documented. That’s the line, and it’s the difference between a weekend project and a liability.
In Fort Worth, where clay soil shifts with every wet-dry cycle, gates fall out of plumb in ways that surprise people. A gate that drags in August may have been perfectly level in March. That seasonal movement means structural adjustments here are more load-bearing than they appear in the manufacturer’s manual. It also means a homeowner who “just tightens the hinge bolts” can accidentally lock in a misalignment that stresses the motor, the chain, and the post weld.
We’ve seen the same pattern enough times to name it: the repair that “worked” for a few months, then failed in a way that cost more than the original service call would have. The failure itself usually isn’t the problem. The problem is that the next technician has to spend billable time figuring out what was changed, what was loosened, what was bypassed, and what parts now aren’t stock. That diagnostic pass is expensive, and it’s almost entirely avoidable.
So the question isn’t “can I do this?” It’s sharper: “If I do this, and it doesn’t hold, what will the next technician have to reverse-engineer?” If the answer is “nothing, because I’ll write it down and photograph what I changed,” the project may be within your range. If the answer is “I’d rather not think about it,” that’s a signal to call someone who documents by default. Our Vance Gate Repair Fort Worth home page explains how our documentation standard works on every job, DIY-adjacent or not.
What a Homeowner Can Safely Own

There is a genuinely legitimate DIY category in gate repair. These tasks share three characteristics: no line voltage inside the component you’re touching, no limit-switch or force setting involved, and no structural hardware under load. They’re maintenance and light configuration work. They won’t throw a gate out of calibration, and they won’t put you across 240V.
Remote Control Reprogramming
Most modern gate openers pair remotes through a learn button on the operator head. The procedure is brand-specific but generally takes under five minutes and requires nothing more than a step ladder and the remote itself. Ghost Controls and Viking operators both use a simple learn-button sequence. BFT remotes use a slightly different method, often involving a hidden button on the receiver board. The manufacturer’s manual is the reference here. If you can follow the manual, you can do this.
Photo-Eye Cleaning and Realignment
A photo-eye is the infrared beam that stops the gate if something crosses the path. When it’s dirty or slightly out of alignment, the gate refuses to close, or it reverses halfway. Cleaning the lens with a dry cloth and checking that both eyes point at each other is a maintenance task, not a repair. In Fort Worth, wind-blown dust and pollen season turn photo-eye lenses into a film-covered mess by late May. A monthly wipe is reasonable homeowner work.
Lubrication of Accessible Points
Hinges, chain, and roller tracks all benefit from light lubrication. Use a dry silicone spray or white lithium grease, nothing heavier. Heavy grease attracts the fine grit that Fort Worth wind carries, which turns lubrication into abrasive paste. Apply sparingly to hinge pins and roller surfaces, wipe away excess, and you’re done. This is the single most routine piece of gate ownership, and it’s entirely appropriate to do yourself.
What these tasks have in common is reversibility. If you reprogram a remote wrong, you can erase it and start over. If you over-lubricate, you wipe it off. Nothing you touch carries safety-critical calibration, and nothing you do will be invisible to a future technician. That’s the threshold, and it’s a useful one.
What Belongs in Professional Hands
The professional category exists for a reason. These repairs involve one or more of three conditions: line voltage, safety-critical calibration, or structural load. Getting one wrong doesn’t just break the gate. It can hurt someone, start a fire, or leave a post that fails catastrophically under the weight of a moving leaf.
Any Wiring That Operates at 120V or 240V
Gate openers run on low-voltage control circuits, but they’re powered by line voltage from a dedicated circuit or a nearby outlet. That line voltage is present inside the operator housing, at the disconnect switch, and sometimes at the transformer. Opening the operator cover doesn’t always expose it, but on many Linear and BFT models, the incoming power terminals sit inches from the low-voltage board. A slip with a screwdriver across those terminals is a serious injury, not a troubleshooting mistake. This is not a DIY category. It’s not even a “careful homeowner with a multimeter” category. It’s a licensed-electrician-or-trained-technician category.
Operator Board Replacement
Swapping a control board sounds straightforward: take photos, disconnect wires, connect them to the new board. But boards carry DIP switches for force settings, limit configuration, and accessory options. If you don’t set those to match the gate’s physical travel and the operator’s intended behavior, the gate can close too hard, stop too early, or reverse unpredictably. A board replacement done without checking limit and force settings against the gate’s actual travel is the most common cause of “the gate worked before I swapped the board.” That sentence is expensive, because the technician now has to verify every setting from zero. Professional board replacement includes the setup, not just the physical swap. Our Gate Motor & Opener in Fort Worth page covers what a complete opener service includes.
Limit-Switch Calibration
The limit switch tells the operator where the gate’s travel ends. If it’s set too far, the gate slams into the stop or over-torques the chain. If it’s set too short, the gate never fully closes, or the lock doesn’t align. Calibration requires knowing the operator’s intended travel, the gate’s actual travel, and the torque or force setting that matches the gate’s weight and speed. It’s not a trial-and-error adjustment. A limit switch that’s 12 degrees past travel will damage a motor over months, and the damage looks like a “bad motor” when it finally seizes. This is a professional adjustment because getting it wrong is both immediately risky and invisibly destructive.
Hinge-Post Repair Where Structural Plumb Is Involved
Hinge posts carry the entire weight of the gate. In Fort Worth’s clay soil, posts move. A post that’s 2 degrees out of plumb puts uneven load on the hinges, which stresses the welds, which eventually crack. Repairing this properly means unweighting the gate, correcting the post, and often re-welding or replacing hinge brackets. This is structural work with serious injury potential if the gate comes off its support during the process. It’s also work that requires an understanding of how Fort Worth soil movement affects post footings. A professional repair includes confirming the post is plumb in both planes before the gate is re-hung, not just “tightening things up.”
The Gray Zone: When It Depends
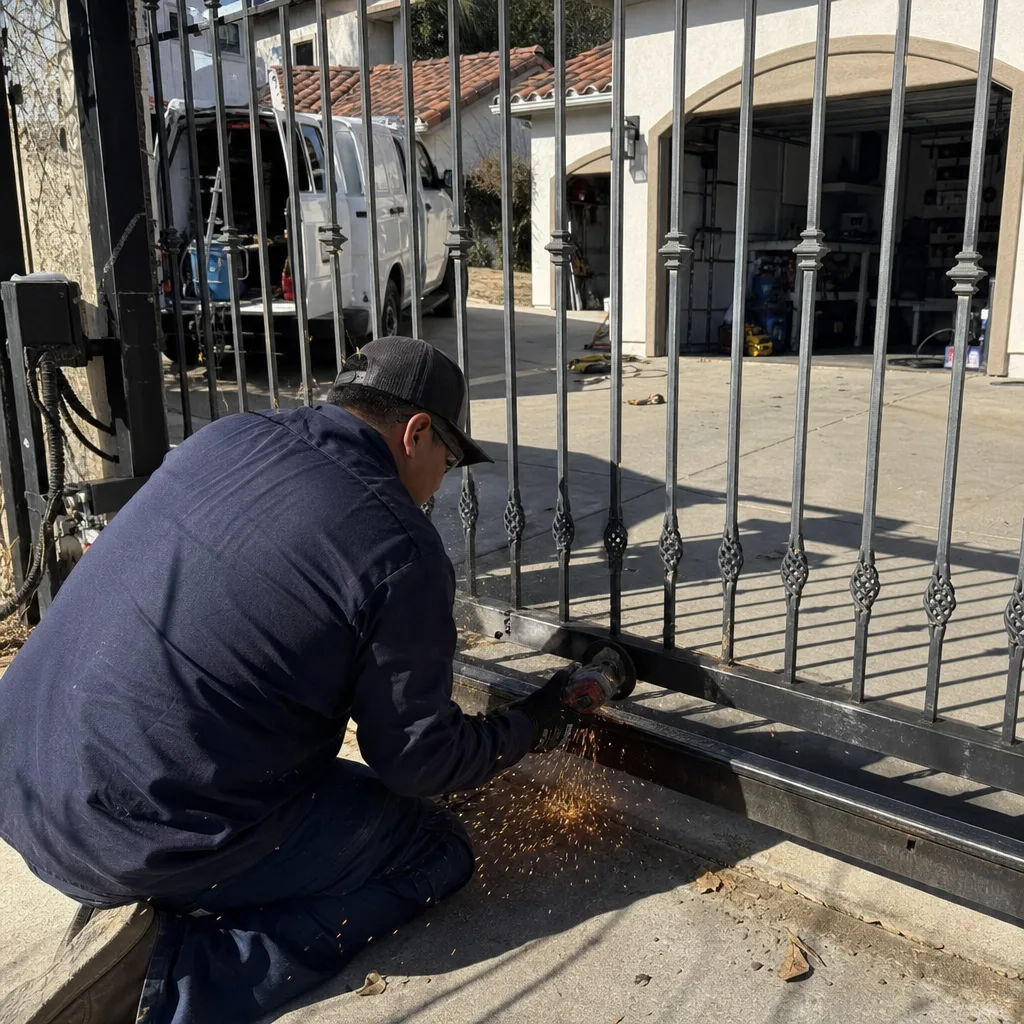
Some repairs don’t fit cleanly into either category. They involve components that can be dangerous but aren’t immediately so, or adjustments that a careful homeowner can perform if they document what they changed. The gray zone is where most expensive mistakes happen, because the risk isn’t visible until the gate behaves unpredictably.
Battery Backup Replacement
Many gate openers have a battery backup that keeps the gate operational during a power outage. Replacing a battery is often physically simple: disconnect the old battery, connect the new one. But batteries in gate operators are sometimes wired in series, sometimes secured with specific torque on the terminals, and sometimes tied to a charging circuit that shouldn’t be energized while disconnected. If the operator has a battery-disconnect switch, use it. If you don’t know whether it does, stop. A battery replacement done wrong can damage the charging board, which is a more expensive failure than the battery was. This is a gray-zone task: doable for a careful homeowner who reads the manual and follows it exactly, not doable for someone guessing.
Chain Tension Adjustment
A loose chain on a slide gate or a sagging chain on a swing gate creates slack that causes jerky movement and premature sprocket wear. Tightening a chain is mechanically simple on most operators: loosen a lock nut, adjust the tensioner, re-tighten. The danger is over-tightening. An over-tightened chain puts lateral load on the motor shaft and the sprocket bearings. The failure doesn’t happen today; it happens months later when the bearing seizes. If you adjust chain tension, write down how many turns you made and in which direction. That record makes the next technician’s job dramatically faster if the adjustment turns out to be wrong.
Loop Detector Sensitivity Settings
Loop detectors sense a vehicle entering the property and command the gate to open. Sensitivity settings control how much metal mass triggers the detector. If the sensitivity is too low, the gate ignores a small car. If it’s too high, the gate opens for a bicycle or a passing truck on the street. Adjusting sensitivity is usually a small potentiometer on the detector board, and the change is reversible. But the setting interacts with the loop’s physical placement, depth, and wire gauge. A homeowner who changes the setting without understanding the interaction can create intermittent operation that’s hard to diagnose later. This is gray-zone work: acceptable if you note the original setting before changing it, and write down both the before and after values.
The common thread across all three gray-zone tasks: the danger isn’t immediate, but the failure mode is delayed and invisible. That’s exactly what makes documentation critical. If you write down what you changed, the repair stays yours. If you don’t, the next technician bills you to rediscover it.
The Cost of Undocumented Work
Undocumented DIY work is the single biggest driver of inflated diagnostic costs on gate repair calls. Here’s why: a technician arrives to find a gate that’s been adjusted, spliced, bypassed, and re-adjusted. Nothing is stock. The first hour of the service call isn’t repair; it’s archaeology. We’re tracing wires back to figure out what was cut, what was jumped, which settings were changed, and whether any of it is safe to leave in place.
That first hour is billable, and it would not have been billable if the previous work had been documented. A one-page note that says “replaced the battery, used a 12V 7Ah, disconnected the battery switch first” saves the technician 45 minutes of testing. A photo of the board before the change, with the DIP switch positions visible, saves even more.
In Fort Worth, where many homes have gates installed by whoever built the house and serviced by whoever was cheapest, the documentation situation is already bad. Gate manufacturers don’t keep records for residential properties. Homeowners rarely have the original installation manual. The only record that exists is the memory of whoever last touched the gate. When that person was a previous owner, the record is gone entirely.
That’s why our documentation habit exists. Every our Gate Repair services visit includes a written record of what was found, what was adjusted, what was installed, and what the part number was. We photograph the limit-switch positions before and after. We note the DIP switch settings. We leave that record with the homeowner and file it in our job history. It’s the same discipline Adrian Vance developed on commercial access-control sites starting in 2014, applied to residential gates because no one else was doing it. If you’ve done DIY work before calling us, we’ll reconstruct what we can and document what we change. But the best version of that record starts when you do the work yourself.
How to Hand Off a Partially-Attempted Repair
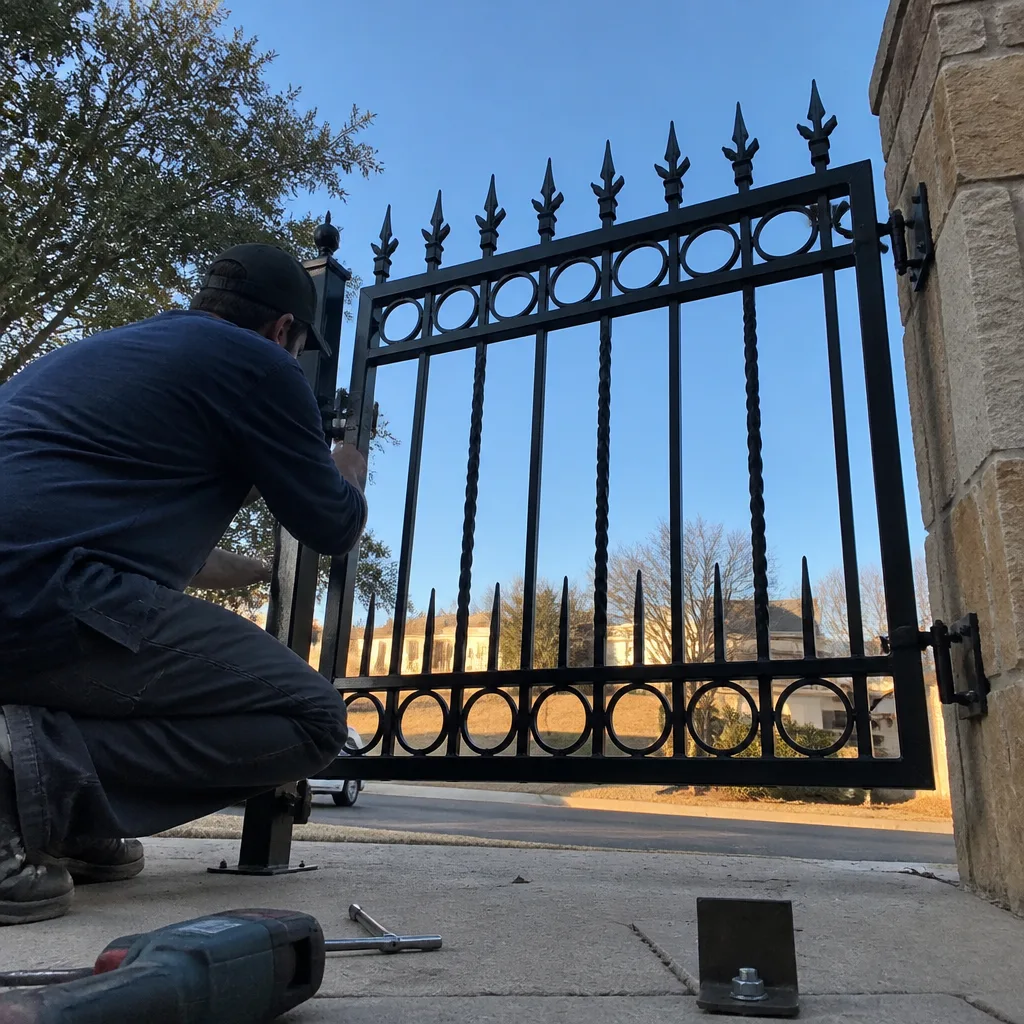
A partially-attempted repair is not a failure on your part. It’s the most common starting point for our residential service calls. What matters is how you hand it off. A clean handoff reduces diagnostic time, which reduces your bill, and it keeps the technician from undoing work that was actually correct. Here’s the handoff process we recommend, step by step.
- Stop at the point where you stopped. Don’t put everything back together. Don’t re-tighten screws, don’t re-route wires, don’t “clean up.” The physical state of the gate is diagnostic information. Leave it as it was when you realized you were out of depth.
- Write a one-paragraph account of what you changed. Include the date, the component, the specific action, and anything you noticed that concerned you. “March 12: loosened the chain tensioner by 3 turns because the chain was sagging. The motor sounded louder than usual afterward. I tightened it back 1 turn.” That paragraph saves 20 minutes of testing.
- Photograph everything as it sits. Get the wiring, the board, the limit switch, the chain connection, the hinge brackets. Good photos in, good understanding out.
- Don’t make “one more adjustment” after you decide to call. Every additional change makes the baseline harder to reconstruct. The technician needs a stable starting point, not a moving target.
- Tell the person on the phone what you did, even if you’re not sure it mattered. The dispatcher may not need the details, but the technician absolutely does. If the information doesn’t get passed along, it doesn’t exist.
This handoff process saves money on the diagnostic pass and builds trust with the technician. It also means the professional repair starts from the best available baseline: the actual condition of the gate, not someone’s guess about it. Our Gate Repair in Fort Worth page outlines how our diagnostic process works when we arrive on a partially-attempted repair.
What to Write Down if You Do the Work Yourself
If you’re going to perform a DIY task in the gray zone, your most valuable tool isn’t a wrench. It’s a note. Here’s the minimum record to keep, and where to keep it.
The record should include five things:
- The date and the specific component. “July 8, sliding gate chain tensioner” is enough. Don’t write “the gate” because six months from now, “the gate” covers a lot of ground.
- The “before” value. This is the most commonly missing piece. If you adjusted something, write down what it was set to before you touched it. “Loop detector sensitivity was at 4, now at 5.” Without the before value, the change is unreconstructable.
- The “after” value. What you changed it to. Same logic.
- Any part number, brand, and spec. If you installed a battery, write down “12V 7Ah, lead-acid, Mighty Mule brand.” The next technician can verify against the charging board without opening the housing fully.
- A photo of the component before and after. Store it on your phone, but also email it to yourself with a subject line that includes the date and the word “gate.” You’ll be able to find it in five years.
Keep this record somewhere it won’t get lost: a note on your phone, a printed sheet taped inside the gate operator housing, a folder in your email. The operator housing is actually the best place, because the next technician will find it during the next service call without you having to remember where you put it. A laminated card inside the operator cover, showing the last known settings and any changes, is the single most useful document a technician can encounter on a residential gate. It converts a mystery into a repair, and it converts an expensive first hour into a productive one.
What Not to Change After You Decide to Call
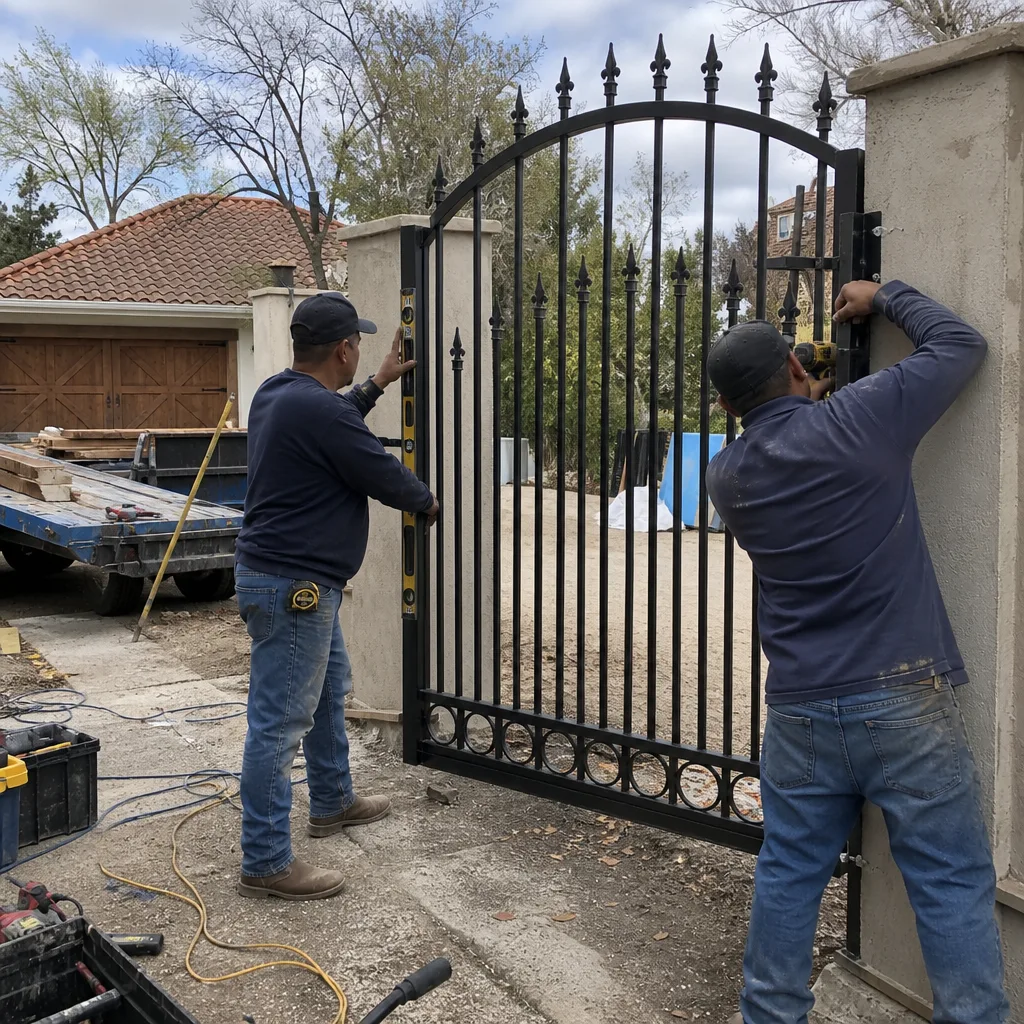
There’s a specific list of things that should stay exactly as they are once you’ve decided to hand the gate off to a professional. Changing any of these after making the call resets the diagnostic baseline and costs you money.
- Limit switches. If the gate is stopping short or over-traveling, that position data is diagnostic. If you move the limit switch back toward where you think it should be, the technician can’t see where the operator thought it should be. Leave it.
- DIP switches on the operator board. These tiny switches control force, auto-close timing, and obstruction sensitivity. If they’re in the wrong position, that’s the evidence. If you reset them to “default,” the technician has to guess what the previous owner’s configuration was.
- Wiring connections. Don’t disconnect anything. Loose or corroded connections are visible evidence. If you unplug and replug them to “clean them up,” you may temporarily fix a connection issue that should be permanently repaired, and the technician never sees the corrosion.
- Chain or belt tension. The current tension is a measurement. If you tighten or loosen it after deciding to call, the technician loses the reference point for diagnosing whether the previous setting was correct.
- Battery connections. Don’t disconnect the battery to “reset” the operator. In some systems, that erases the stored limit positions. Then a simple mechanical issue becomes a full reprogramming job.
The principle: evidence is valuable. Don’t destroy it. The gate is telling the technician something, and every adjustment you make before the technician arrives erases part of the message.
Common Mistakes to Avoid
- Thinking “it’s just a battery.” Battery replacement can be straightforward, but it can also involve series wiring, specific terminal torque, and a charging circuit that doesn’t tolerate shorts. If you don’t know which kind you have, don’t guess. A shorted battery terminal can take out the charging board, and that’s a $300 to $600 repair instead of a $40 battery.
- Over-tightening the chain “to get the slack out.” A sagging chain looks like a problem, but over-tightening creates lateral load on the motor shaft and sprocket bearings. The failure arrives months later, and it looks like a motor failure. If you tighten, log the number of turns.
- Using heavy grease on hinges or rollers. Fort Worth dust turns heavy grease into abrasive paste in about two weeks. Use dry silicone spray or white lithium grease, applied sparingly, wiped to a thin film.
- Ignoring the photo-eye before assuming the board is bad. A misaligned or dirty photo-eye is the most common cause of “the gate won’t close.” Clean the lens and check alignment before spending money on a board you may not need.
- Reprogramming a remote without first clearing the old ones. On many operators, adding a remote without clearing the receiver memory means the lost remote still works. If a remote went missing, reprogram the receiver, don’t just add a new remote on top of the old list.
- Doing structural hinge work without unloading the gate. Never remove hinge bolts from a gate that’s still hanging. The gate leaf weighs hundreds of pounds. It will swing or fall in a direction you don’t expect. This is a professional job precisely because the unloading process requires proper support and a second person.
- Calling after the DIY fix has already made things worse. This is the most expensive mistake in the guide. Every additional adjustment you make after the gate starts misbehaving adds another layer of reconstruction for the technician. Stop early, document, and hand it off clean.
When to Call a Professional
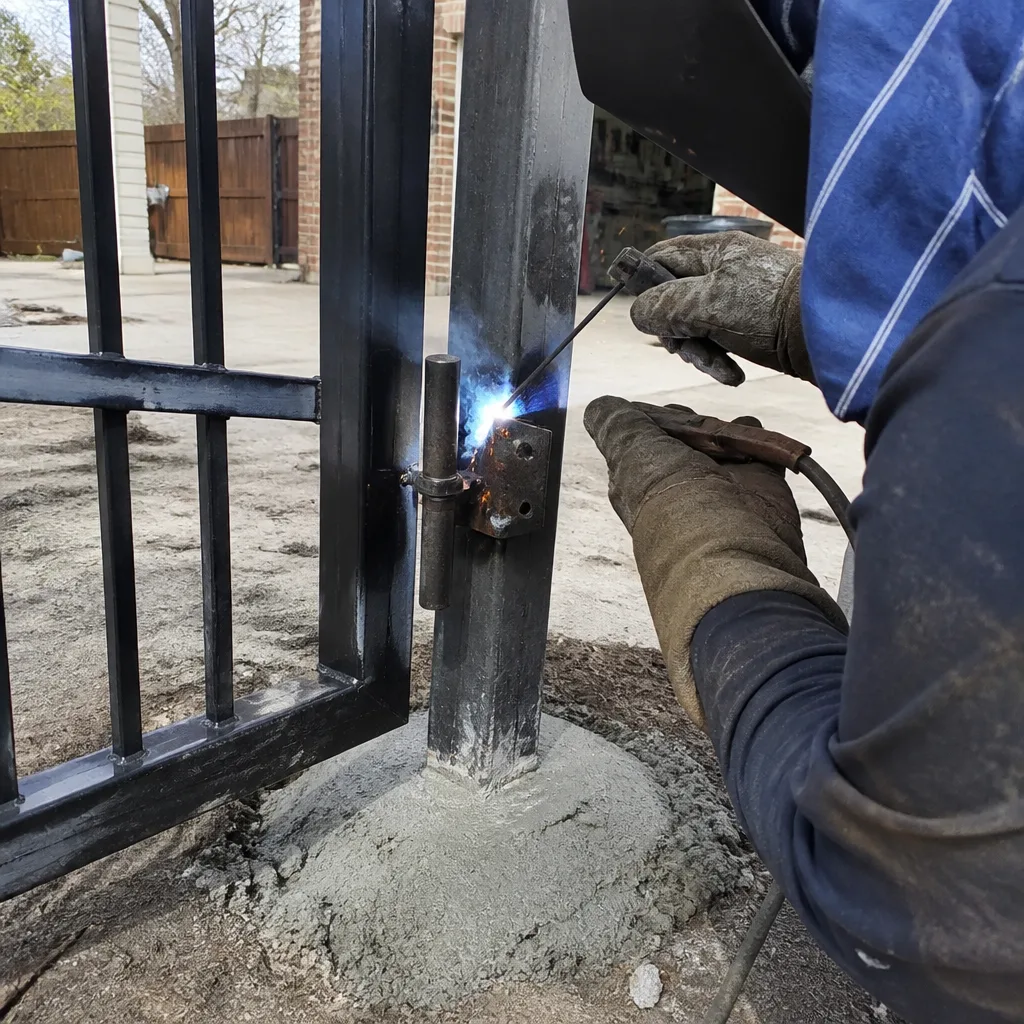
Call a professional if the repair involves any wiring at 120V or 240V, any limit-switch or force-setting calibration, any operator board replacement, or any hinge-post work where the gate’s weight is under load. Those are the safety-critical and structural categories where a mistake has delayed and serious consequences. Also call if you’ve already attempted a repair and the gate is behaving unpredictably: the longer it runs in an undocumented state, the more it costs to reconstruct.
Vance Gate Repair Fort Worth offers free estimates in Fort Worth, with a written price delivered before any work begins. Call (817) 476-9945 and a live person answers, 24 hours a day, seven days a week.
Frequently Asked Questions
Most residential gate repairs in Fort Worth run between $150 and $600, depending on the component. A photo-eye alignment or limit-switch correction is typically at the low end. An operator board replacement or hinge-post repair lands at the high end. Motor and opener replacement usually runs $600 to $1,200 including the part and installation. Every Vance Gate Repair job comes with a written price before work starts, so the quote on the page is the invoice at the end. Call (817) 476-9945 for an exact quote; estimates are free.
Yes. We dispatch same-day repair service across Fort Worth because a live person answers the phone 24/7 and schedules against actual technician availability, not a callback queue. Most common repairs, including operator troubleshooting, photo-eye realignment, and limit-switch correction, are completed in a single visit. Call (817) 476-9945 and you’ll speak to a person who can schedule the visit immediately.
A full installation includes the gate leaf or leaves, the operator, the hinge hardware, the limit and safety setup, the photo-eye and safety-edge wiring, and the electrical connection to the operator. It also includes the final calibration: travel limits, force settings, and obstruction response, all documented with a photo record. Service does not include hidden surprises; our Gate Installation in Fort Worth page covers the complete process from measure to handover.
Yes. Power runs at line voltage are part of the installation or repair scope whenever the operator requires them, and safety edges and photo-eyes are installed, wired, and tested as part of every operator job. We service nine major automation brands, including Linear, Viking, Ghost Controls, and BFT, so the existing motor doesn’t dictate the safety equipment. Call (817) 476-9945 for a written estimate that includes the full scope.
Fort Worth sits on expansive clay that swells when wet and contracts when dry. That movement shifts gate posts over time, which throws gates out of plumb, stresses hinges and welds, and can bind the gate against the ground. A repair that ignores soil movement may not hold through the next wet-dry cycle. That’s why structural work here should include a plumb check in both planes and, where necessary, a permanent footing correction rather than a temporary shim.
Turning off the breaker is necessary but not sufficient. The operator housing may still contain capacitors that hold charge after the power is off, and some models have battery backups that keep components energized even with the breaker off. You should also confirm there’s no secondary power source, like a solar supply or battery backup, before touching any wiring. If any of that is unclear, don’t open the housing. This is the line-voltage category we recommend leaving to a trained professional.
The Bottom Line
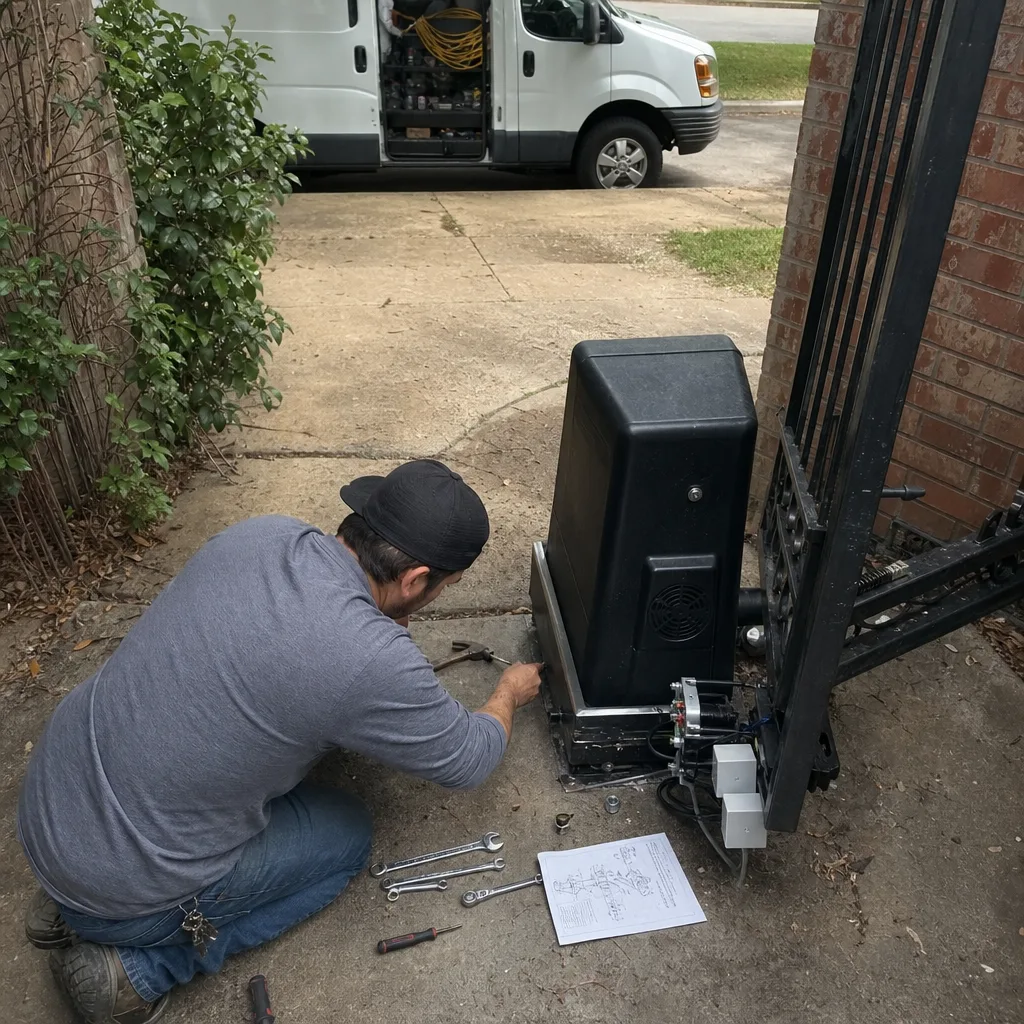
The DIY versus professional question comes down to three things: whether the repair touches line voltage, whether it affects safety-critical calibration, and whether you’re willing to write down what you changed. Clean the photo-eye, reprogram the remote, lubricate the hinges. Those are yours. For line voltage, limit switches, operator boards, and hinge posts, hire a professional who documents the work. The documentation habit is what separates a repair from a renewable mystery. And if you’ve already partially attempted a repair, hand it off honestly: write down what you did, photograph the current state, and stop adjusting. That’s the cheapest decision in this entire guide.
Written by Adrian Vance, Owner at Vance Gate Repair Fort Worth, serving Fort Worth since 2014. Browse more guides & resources.